Blue Weave Tutorials
Step 1
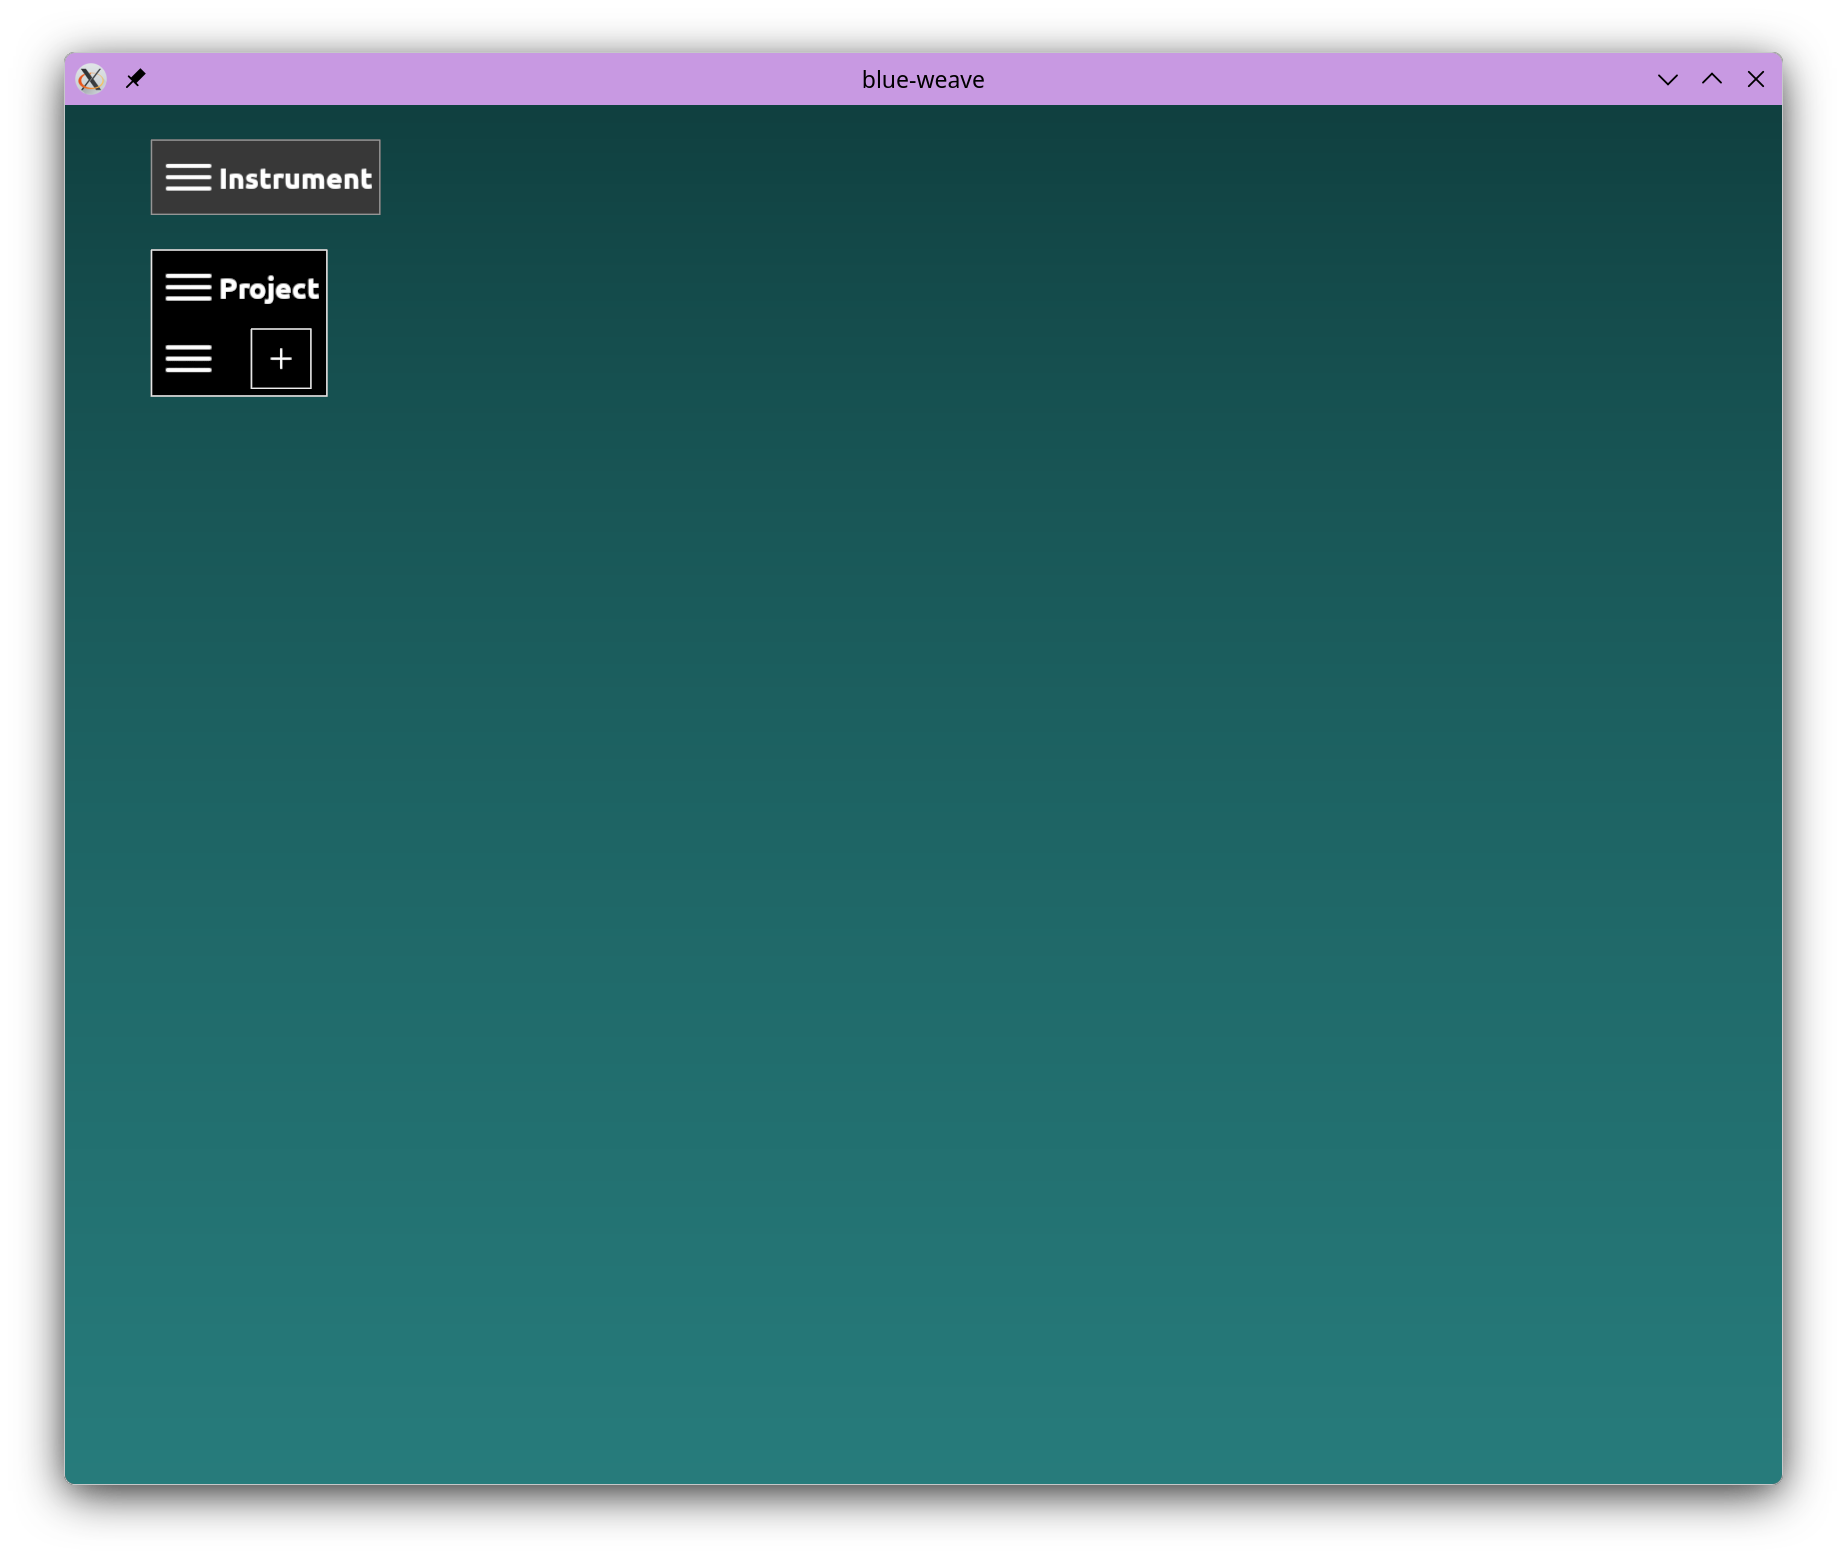
Let's get started. Go to the "instrument" screen and press the + on the project patch list.
Step 2
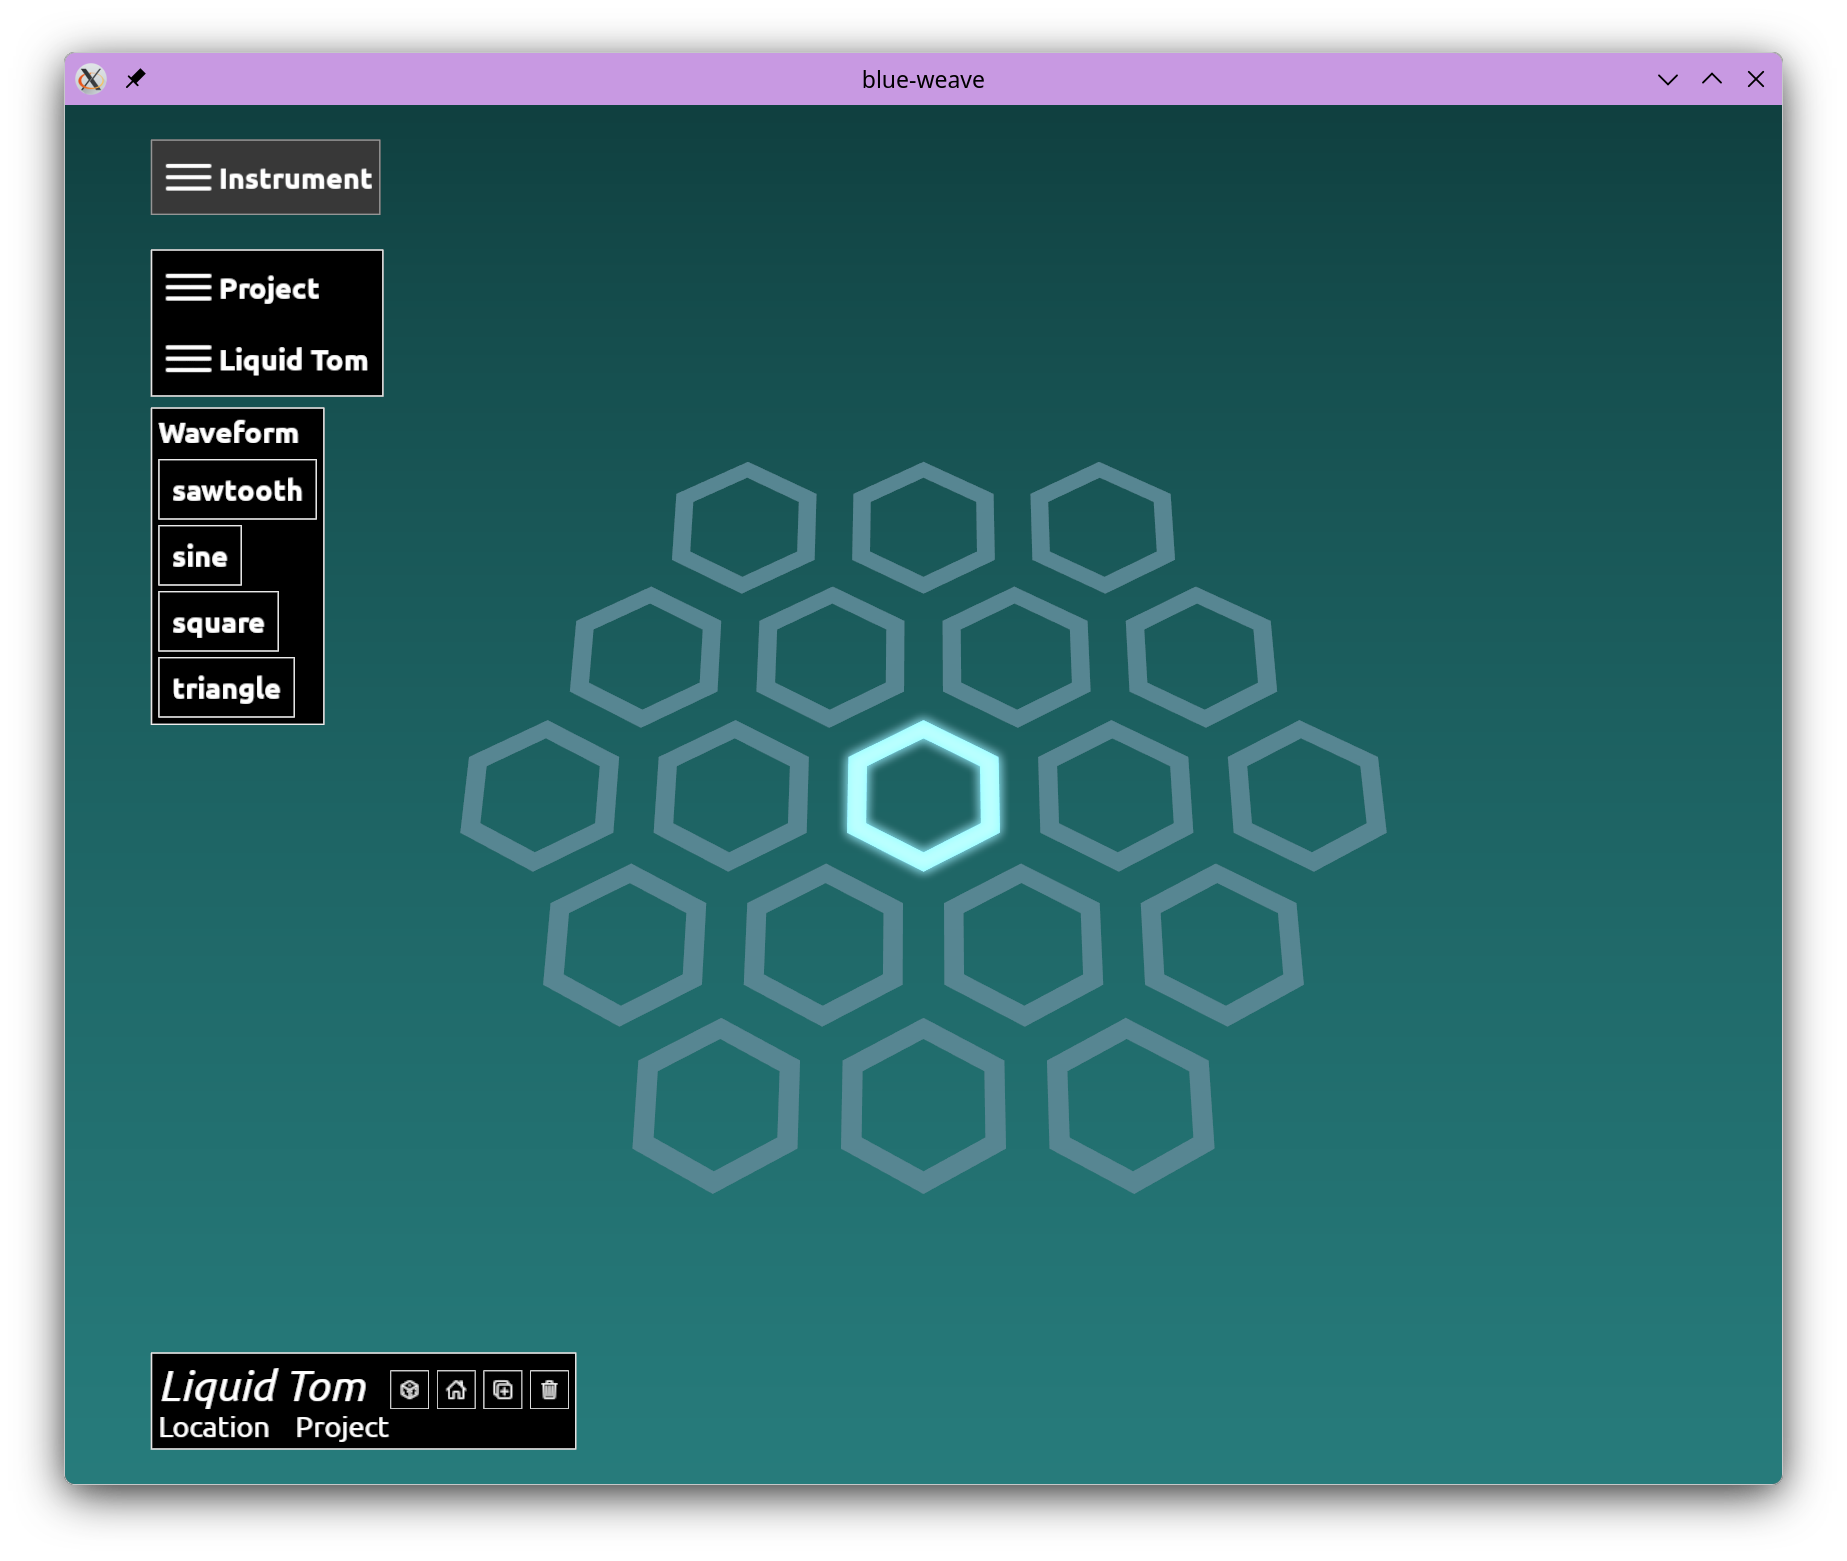
You'll notice that a name has been created for you in the bottom left panel (and also visible now in the menu). You can edit this by clicking the name in the bottom left panel.
Step 3
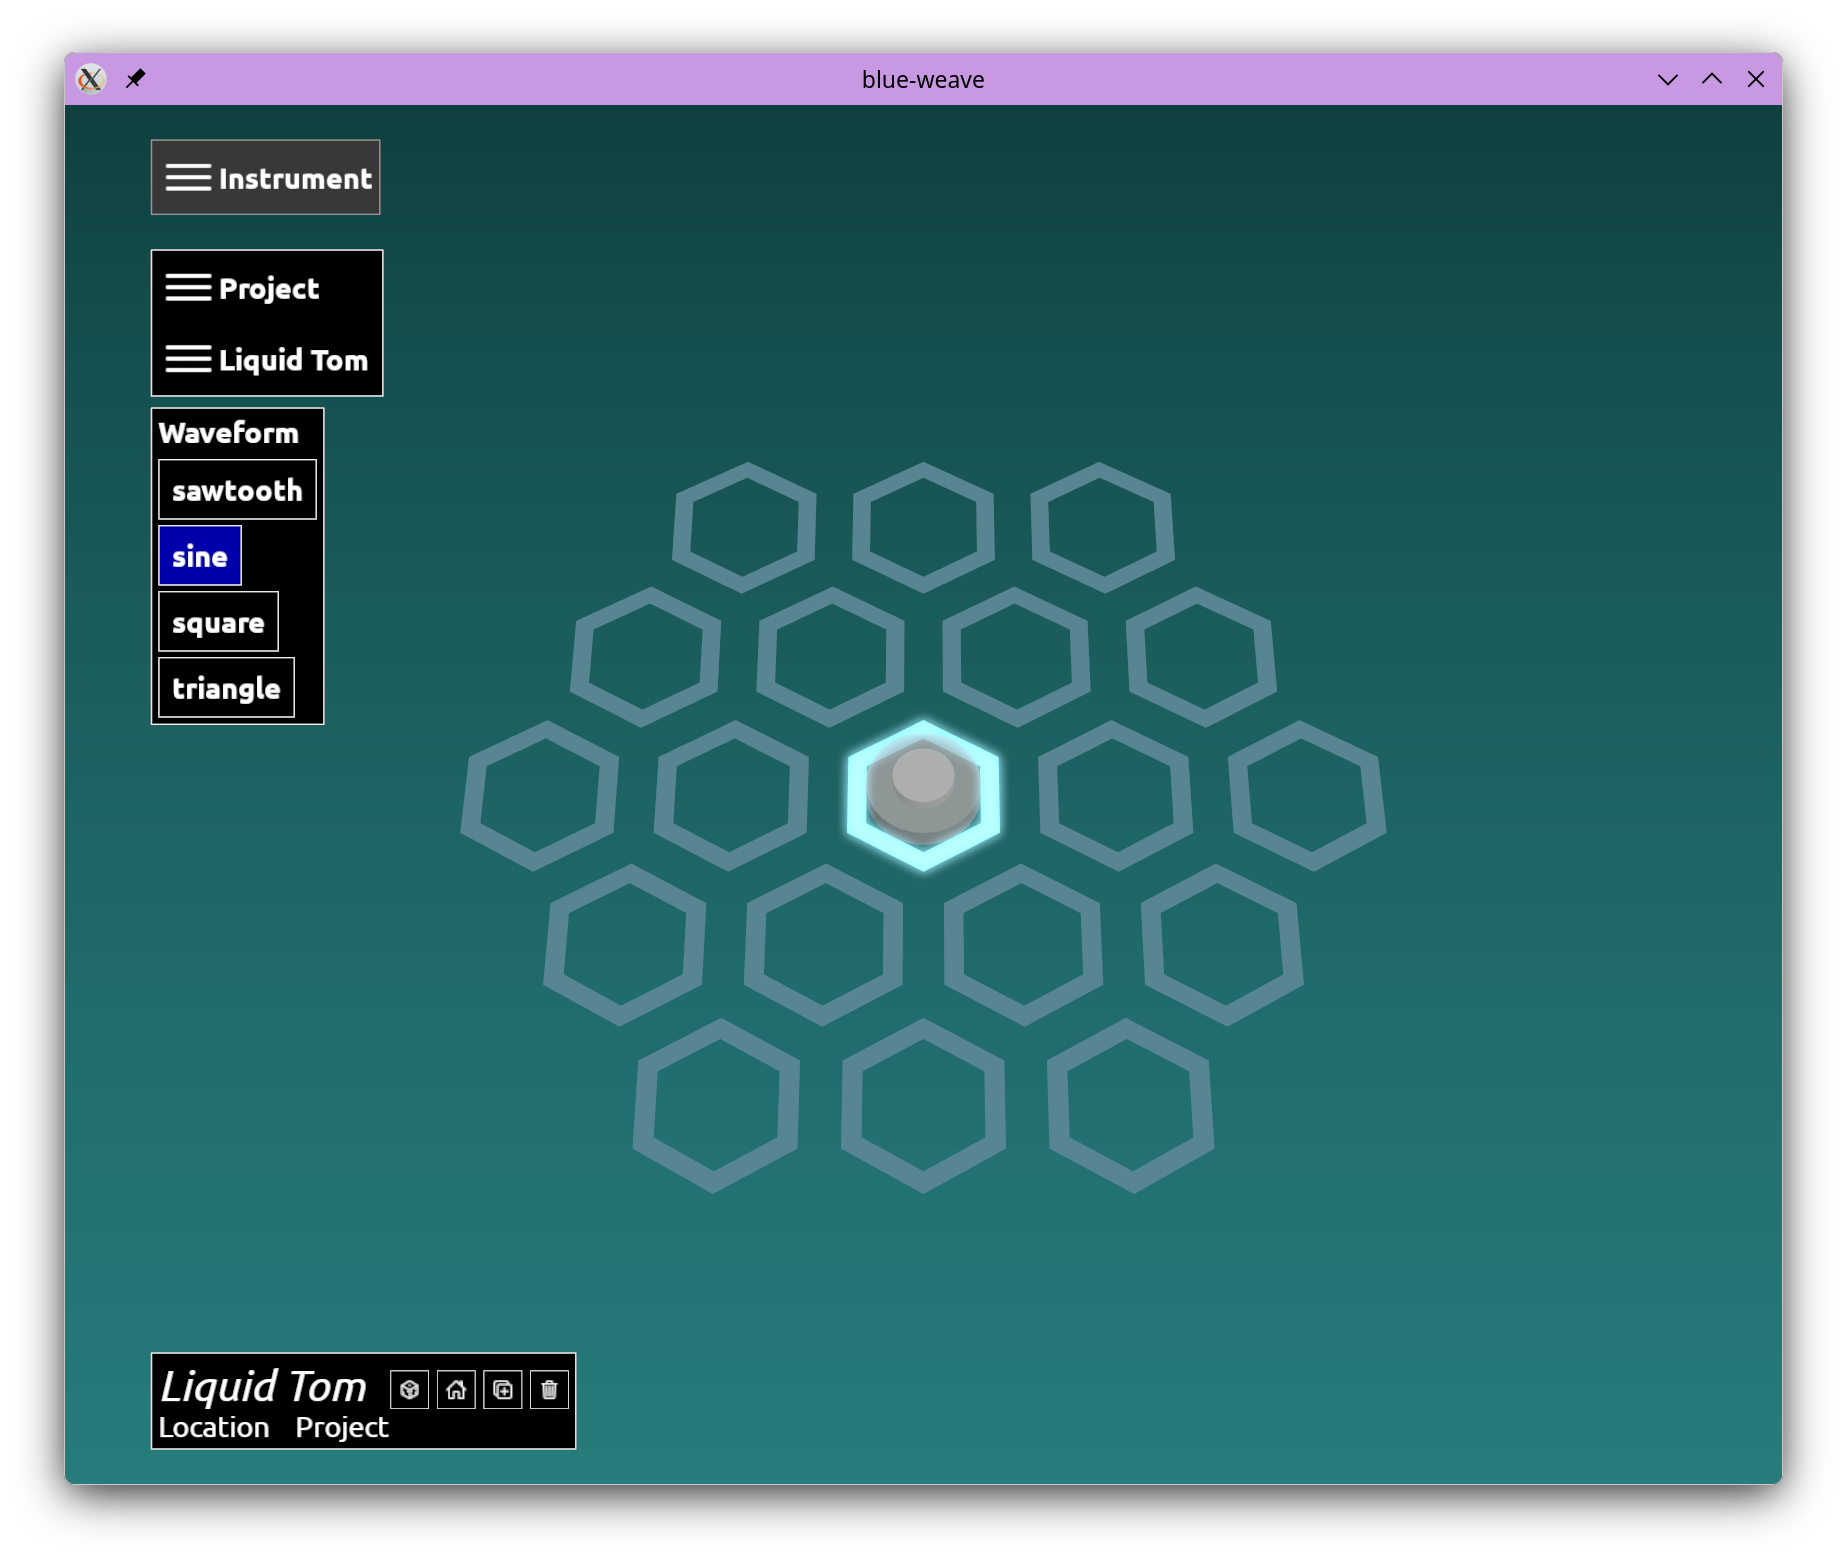
From the panel on the left, select a sine oscillator and place it in the middle of the screen. If you press space (or try your MIDI keyboard) you'll already hear it.
Step 4
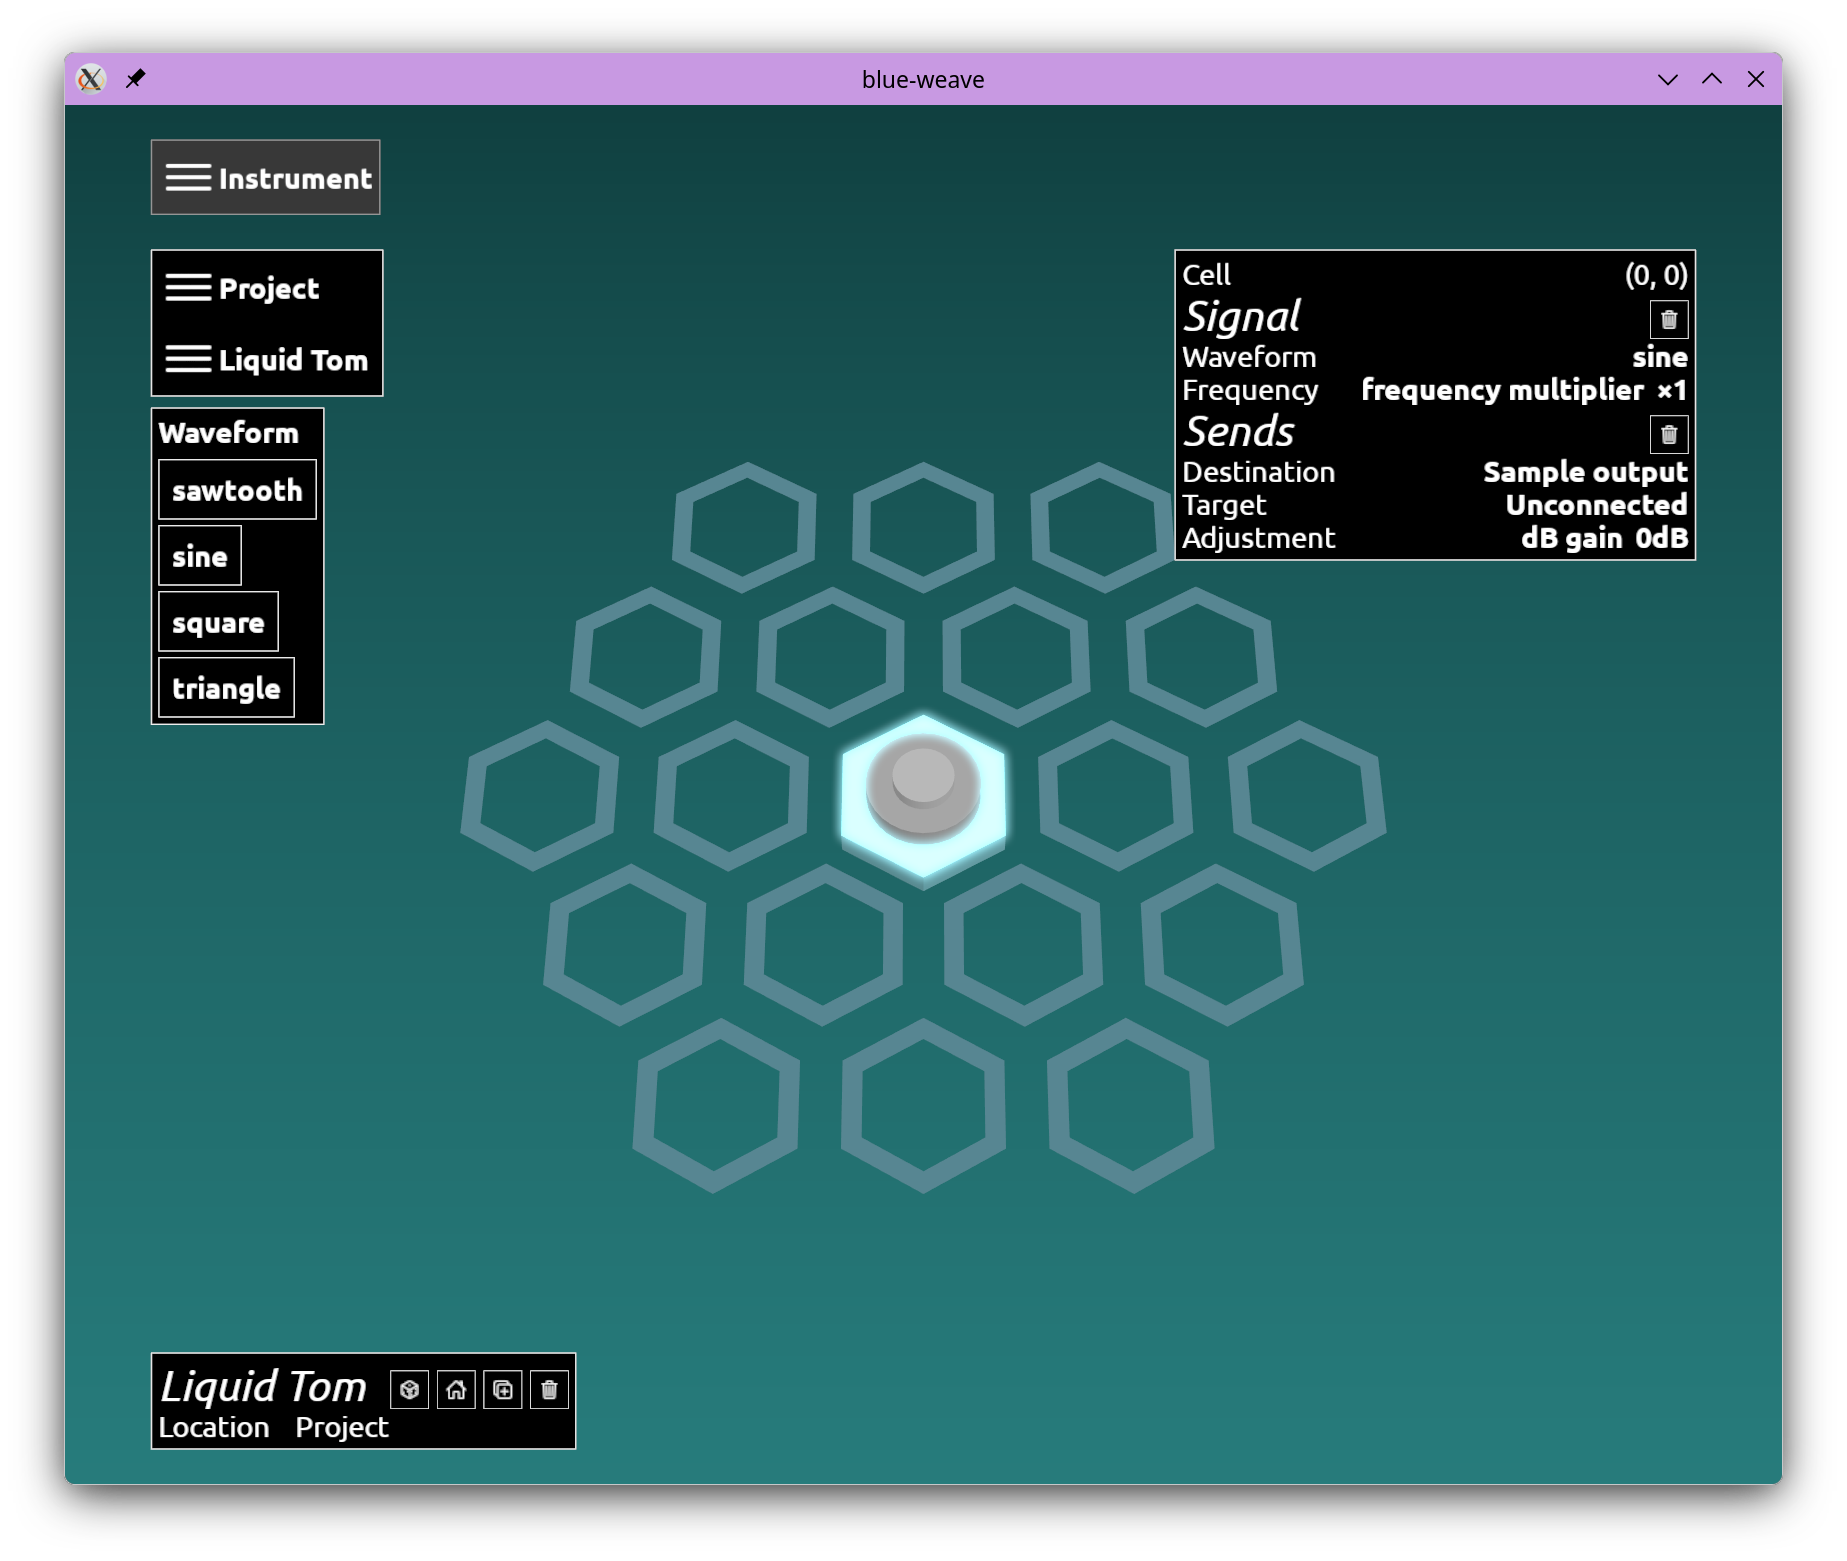
The properties panel on the top right tells us that it will play "frequency multiplier ×1". This means that it will play the frequency of the note you hit on the keyboard. The space bar always plays A4 (440Hz).
Step 5
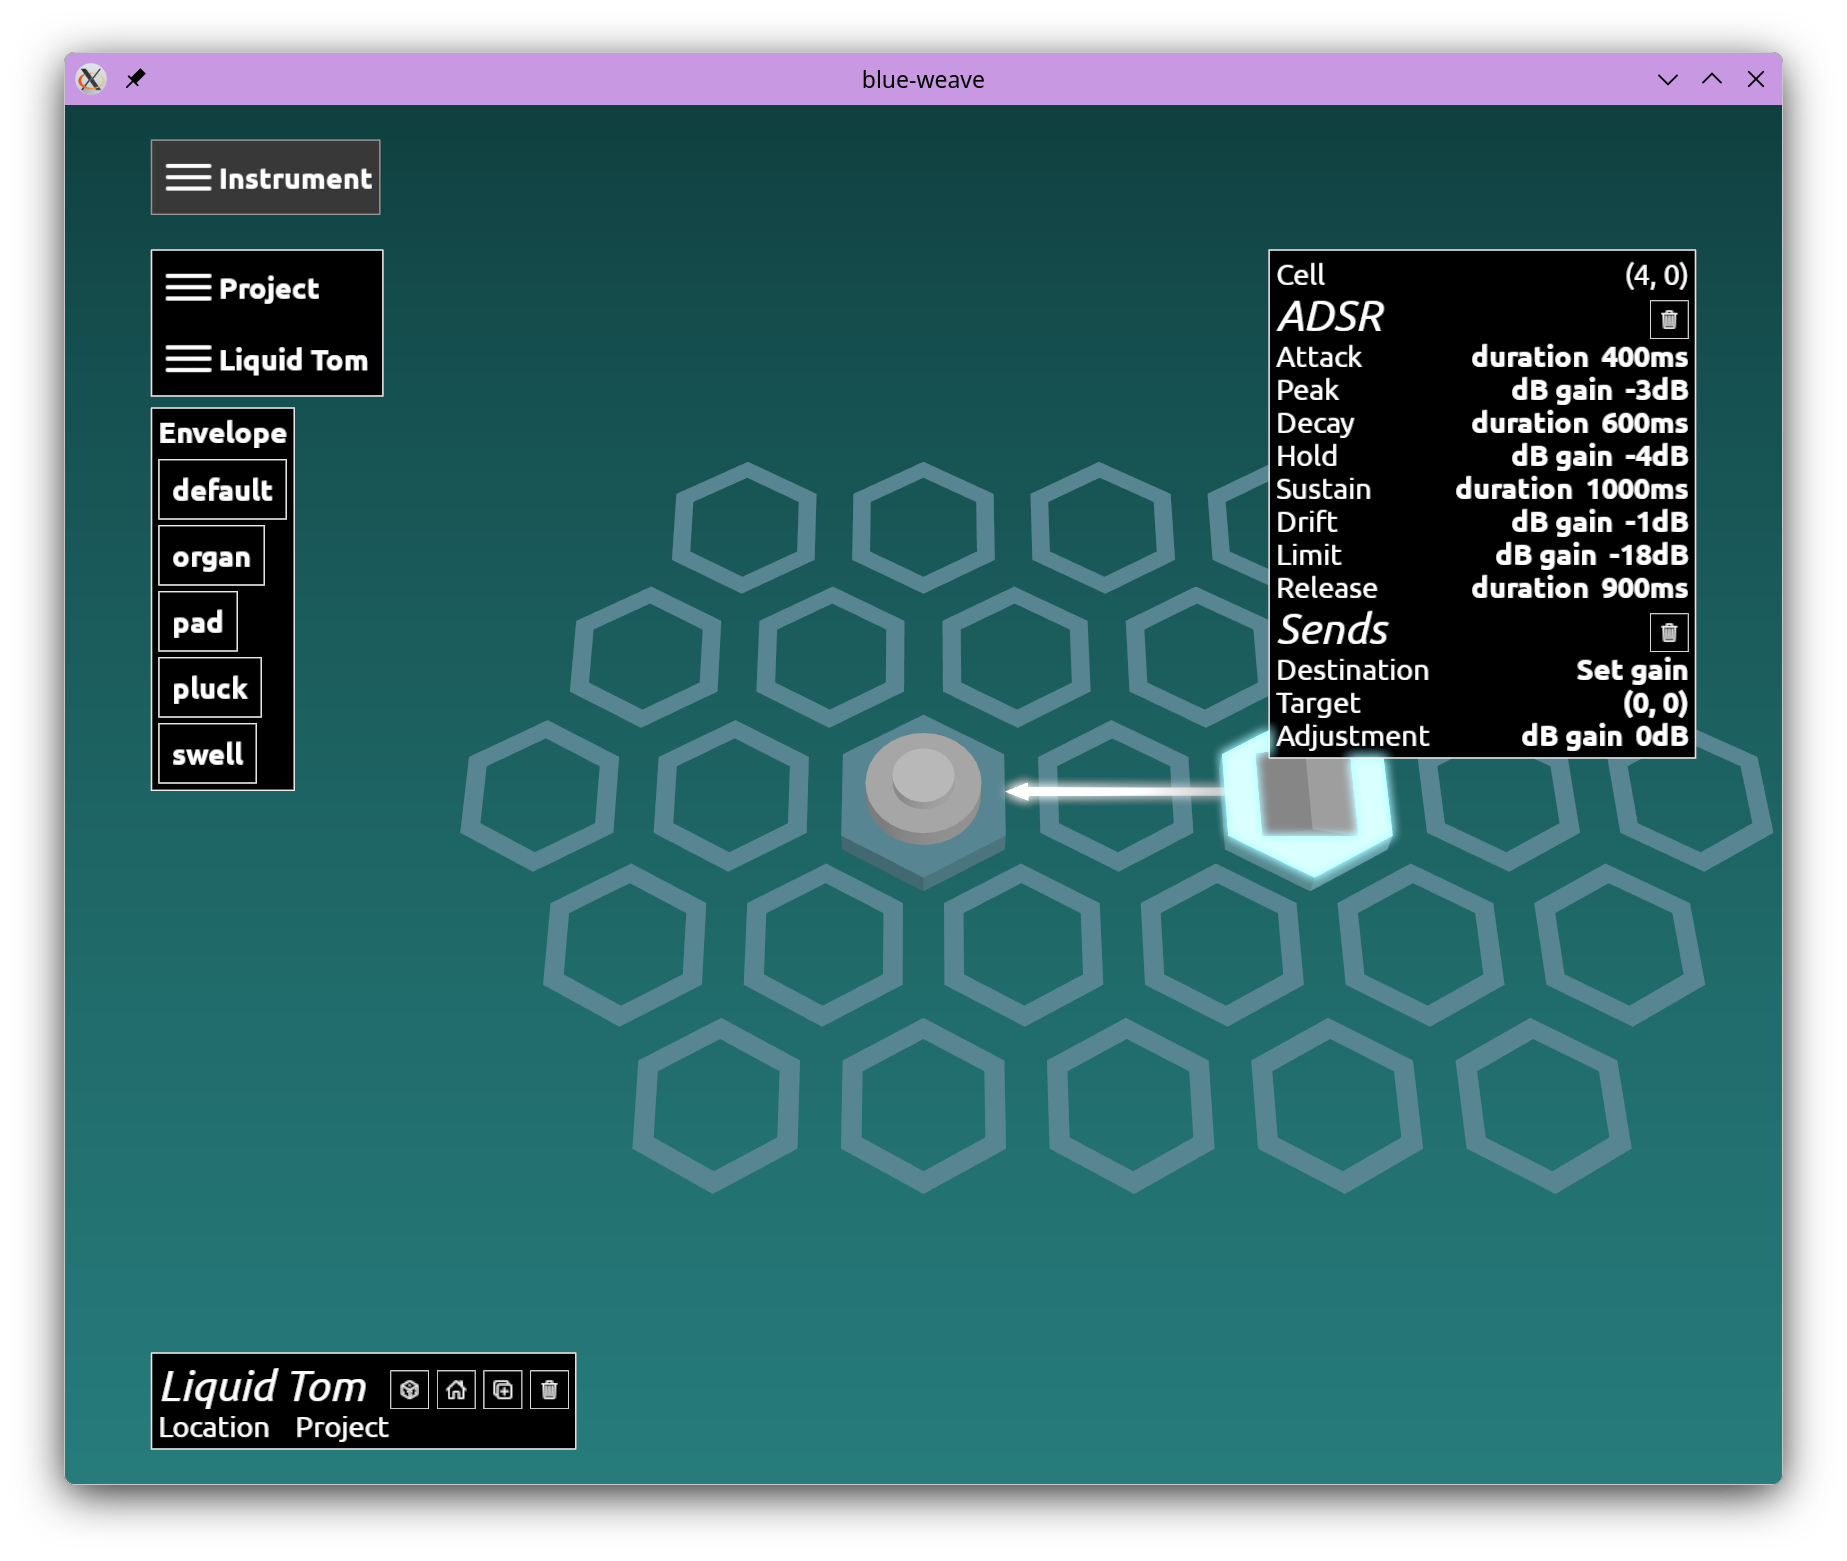
Next select "Envelopes" from the drop down above the waveform buttons. Select one of these and place it near the sine oscillator. It will automatically connect to the nearest oscillator.
To move your viewpoint, double click on any hex to centre it. You can also use Shift-Q and Shift-E to rotate the grid.
You can delete the envelope with the Del key or the bin icon. Use Ctrl-Z (Cmd-Z on macOS) to undo and Ctrl-Shift-Z (Cmd-Shift-Z on macOS) to redo.
To move a component select it, then press Ctrl-X (Cmd-X on macOS) and then place it where you want.
Let's settle on the "pad" envelope and tweak it a bit. The "Sustain" parameter controls what happens when you hold the MIDI key (space plays only a single iteration of the sustain time).
Step 6
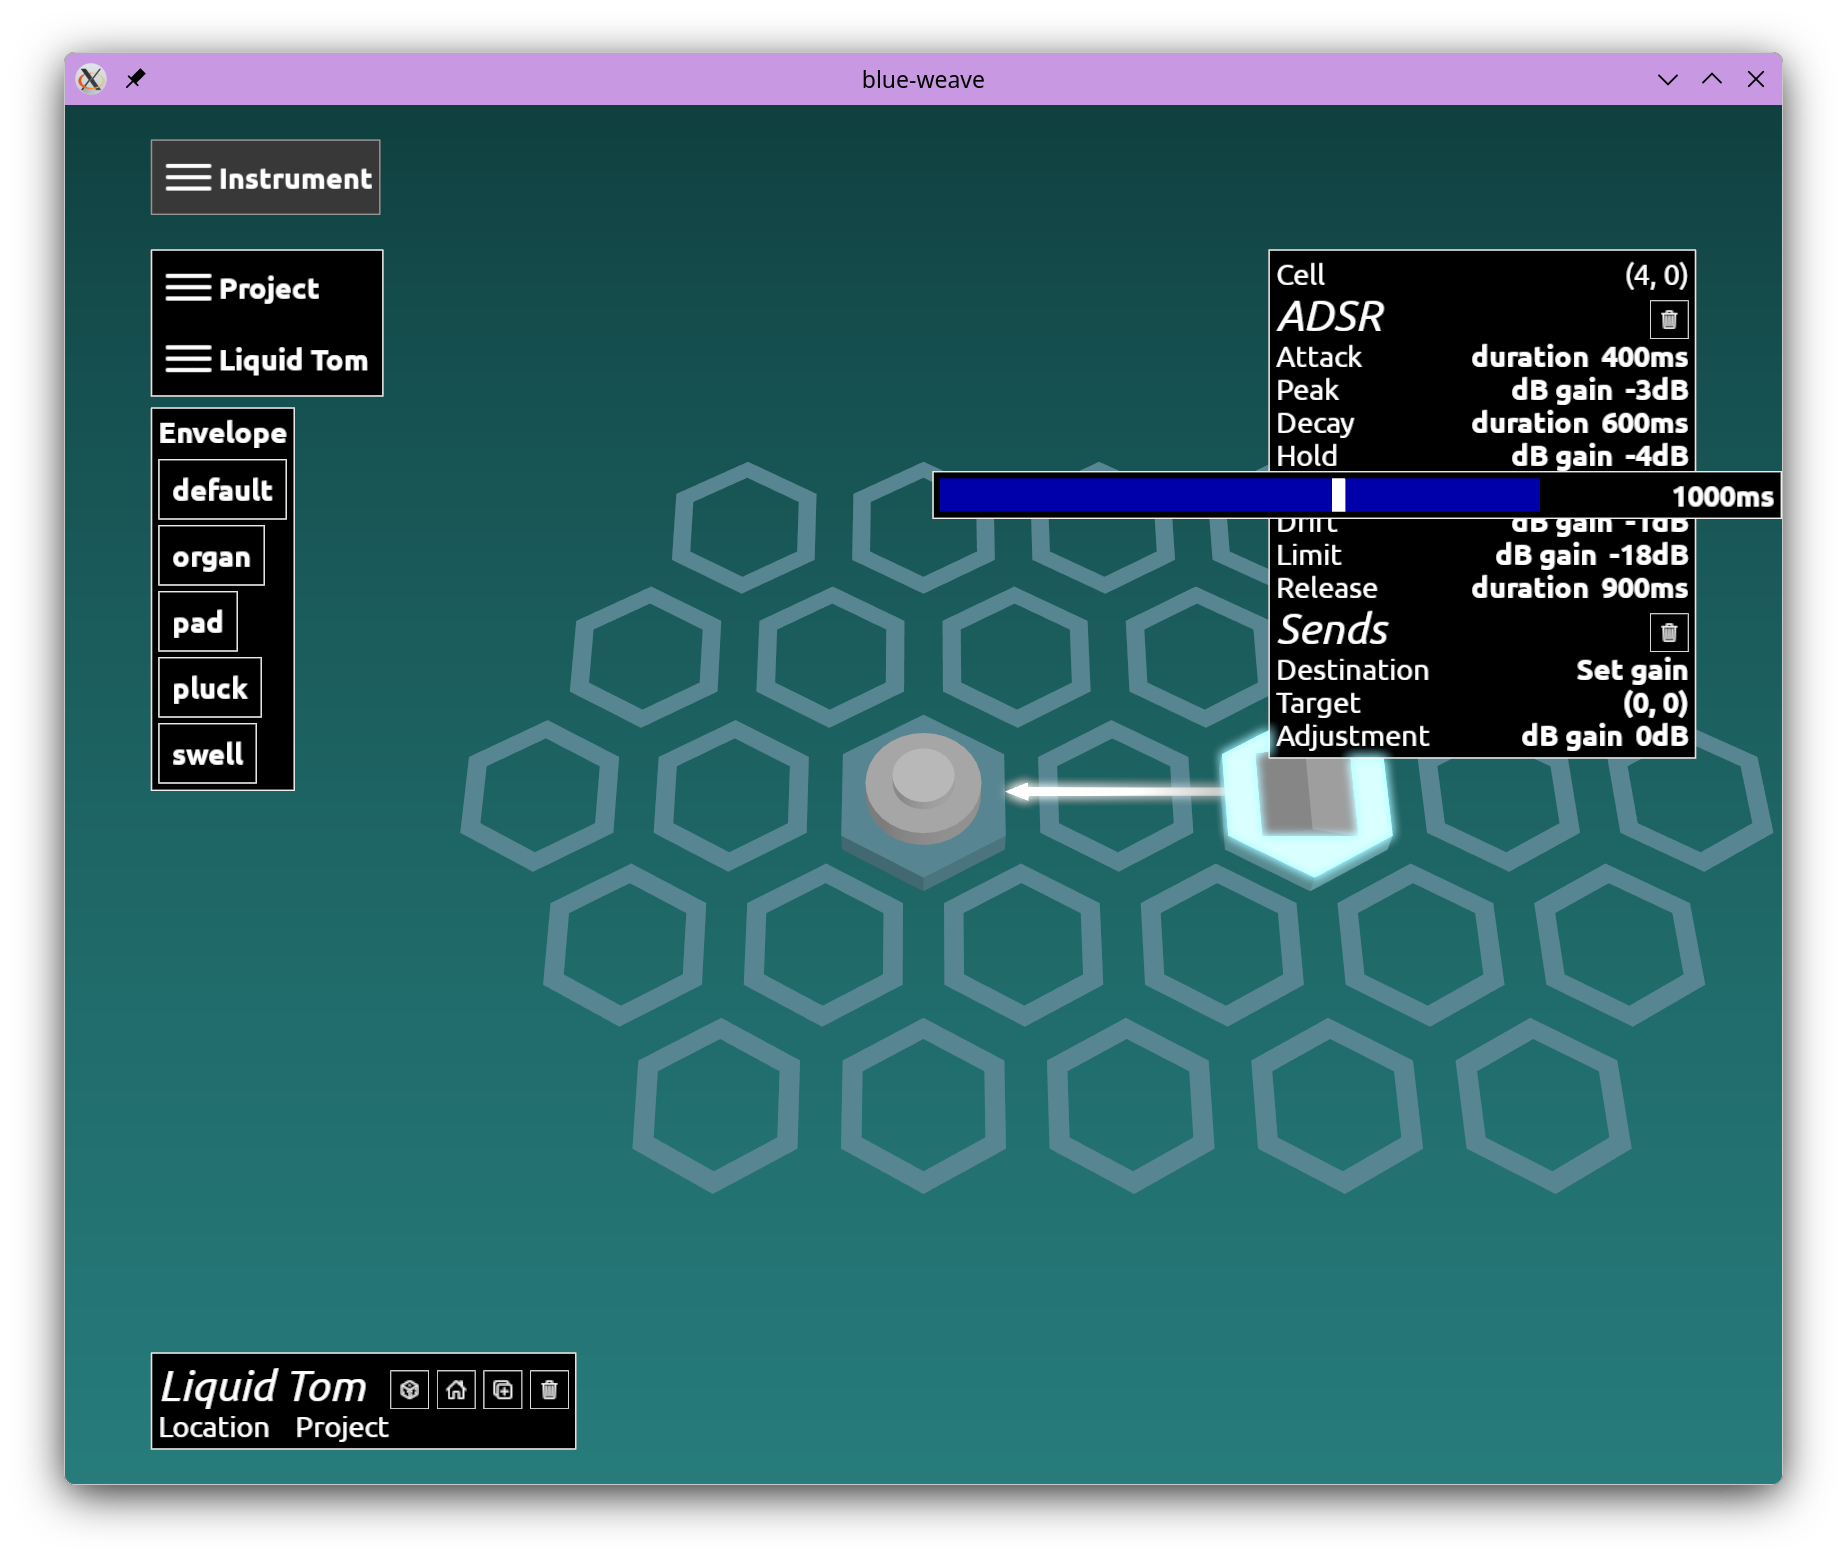
Click on the "1000ms" value and you'll get a slider. You can drag the hotspot to alter the value, you can also use your mouse's scroll wheel when the mouse cursor is over the scroll area, and you can click on the number to type in a new value.
Set it to "250ms". You'll notice that space bar now plays a noticeably shorter note, and if you hold a key you'll hear that it falls off more quickly. This is because it now drops -1dB per 250ms instead of per 1000ms of held note.
Step 7
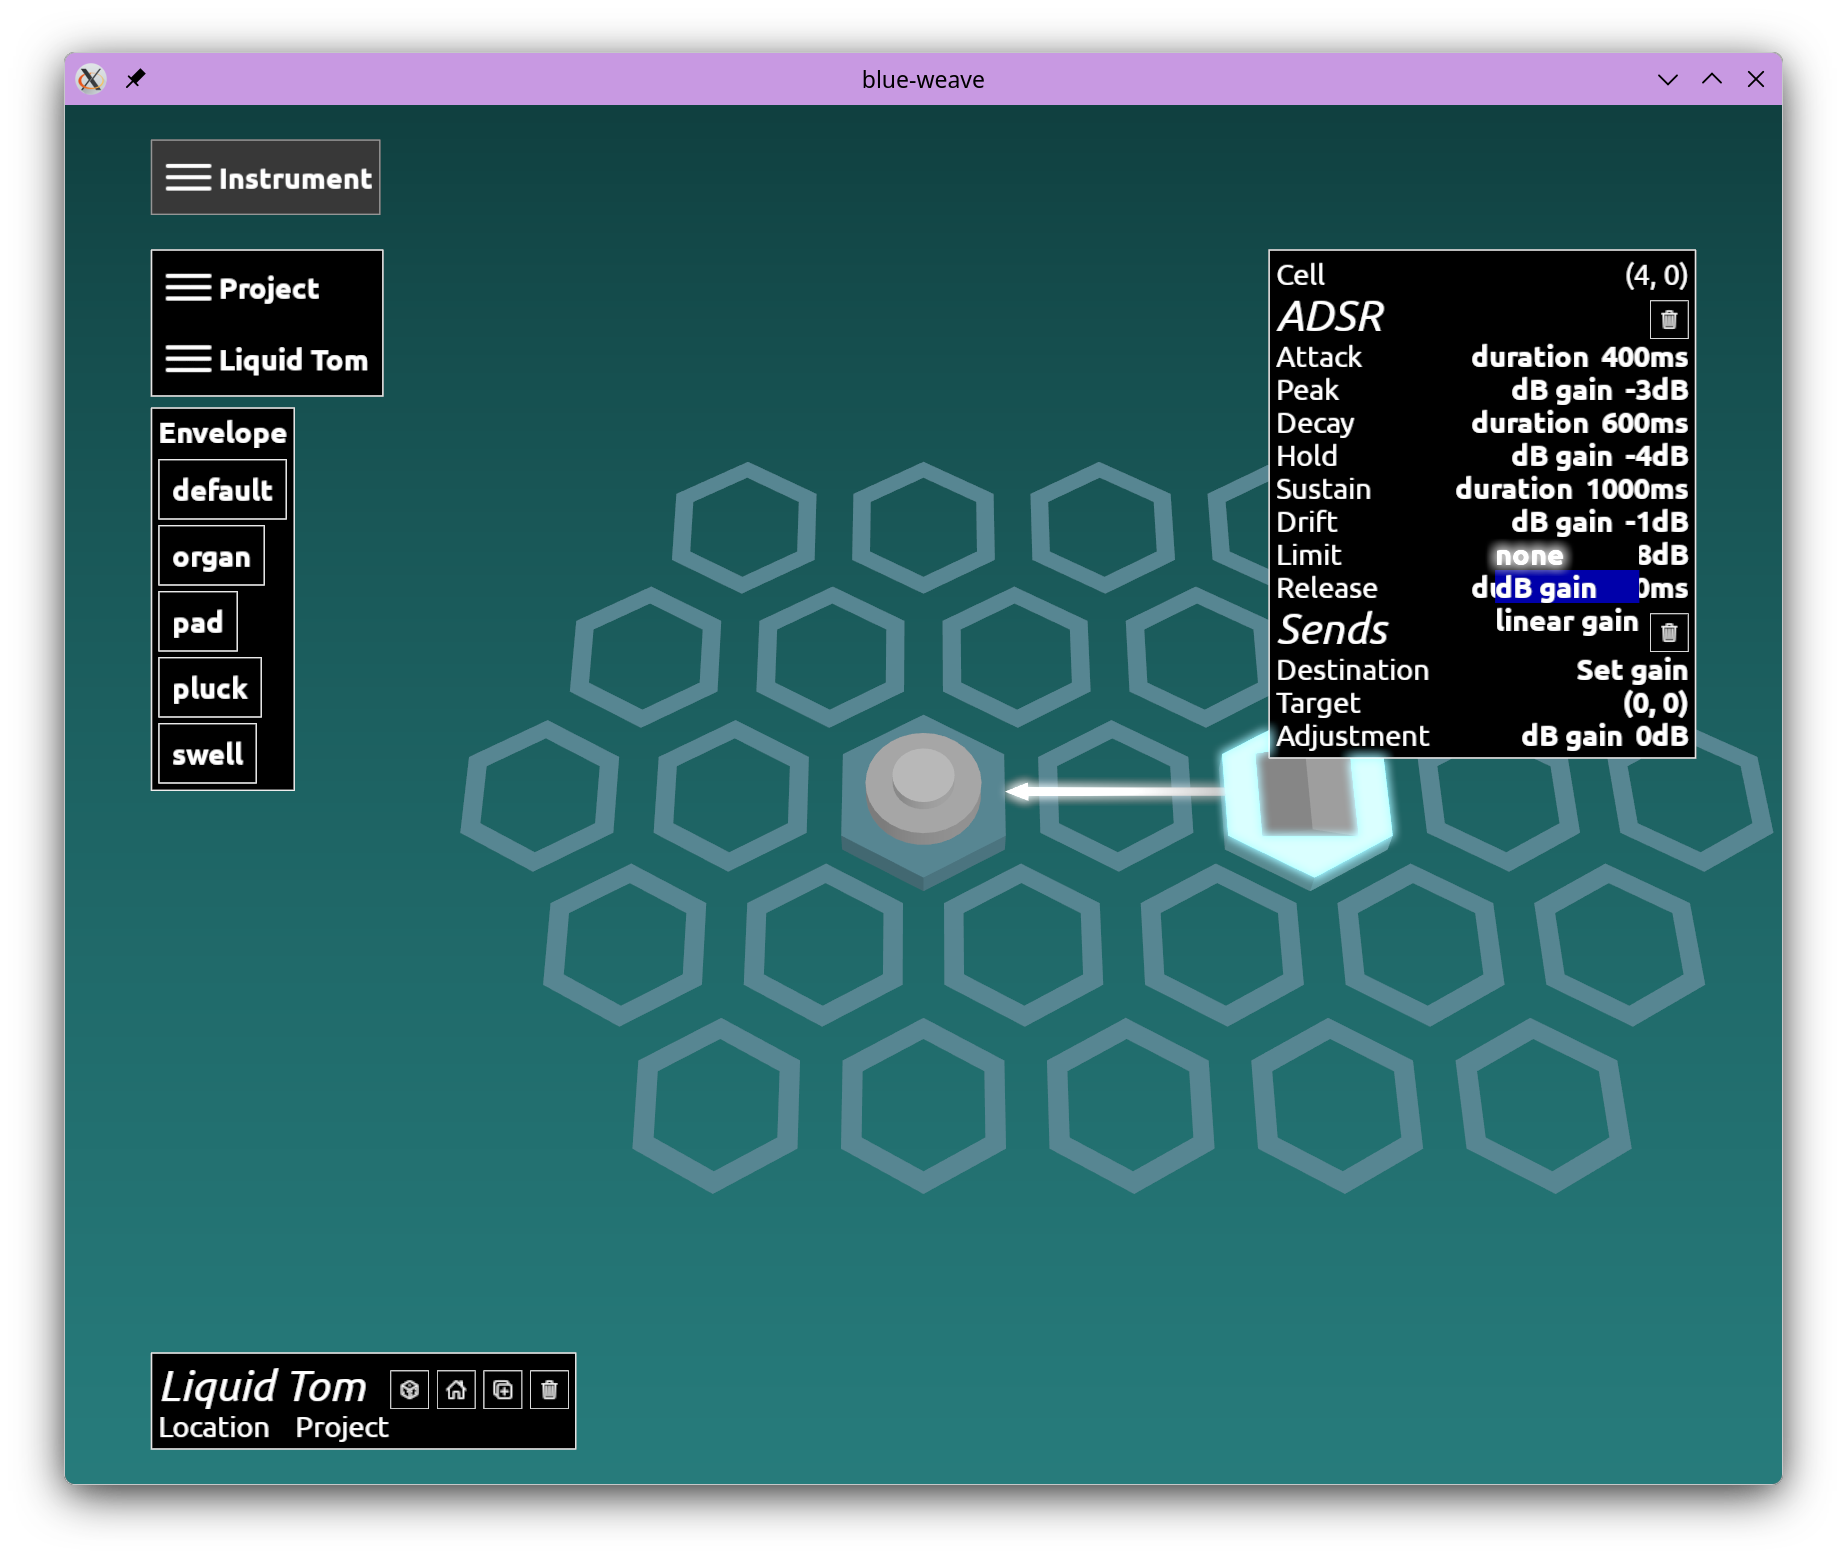
If you click the "dB gain" next to the sustain on the "Limit" you can set this to none. If you do that then hold a MIDI key you'll notice it now fades all the way to silence — you may need to hold this for a long time, a minute at least before it goes really quiet.
Let's set it to -6dB so it doesn't fall off so far.
Step 8
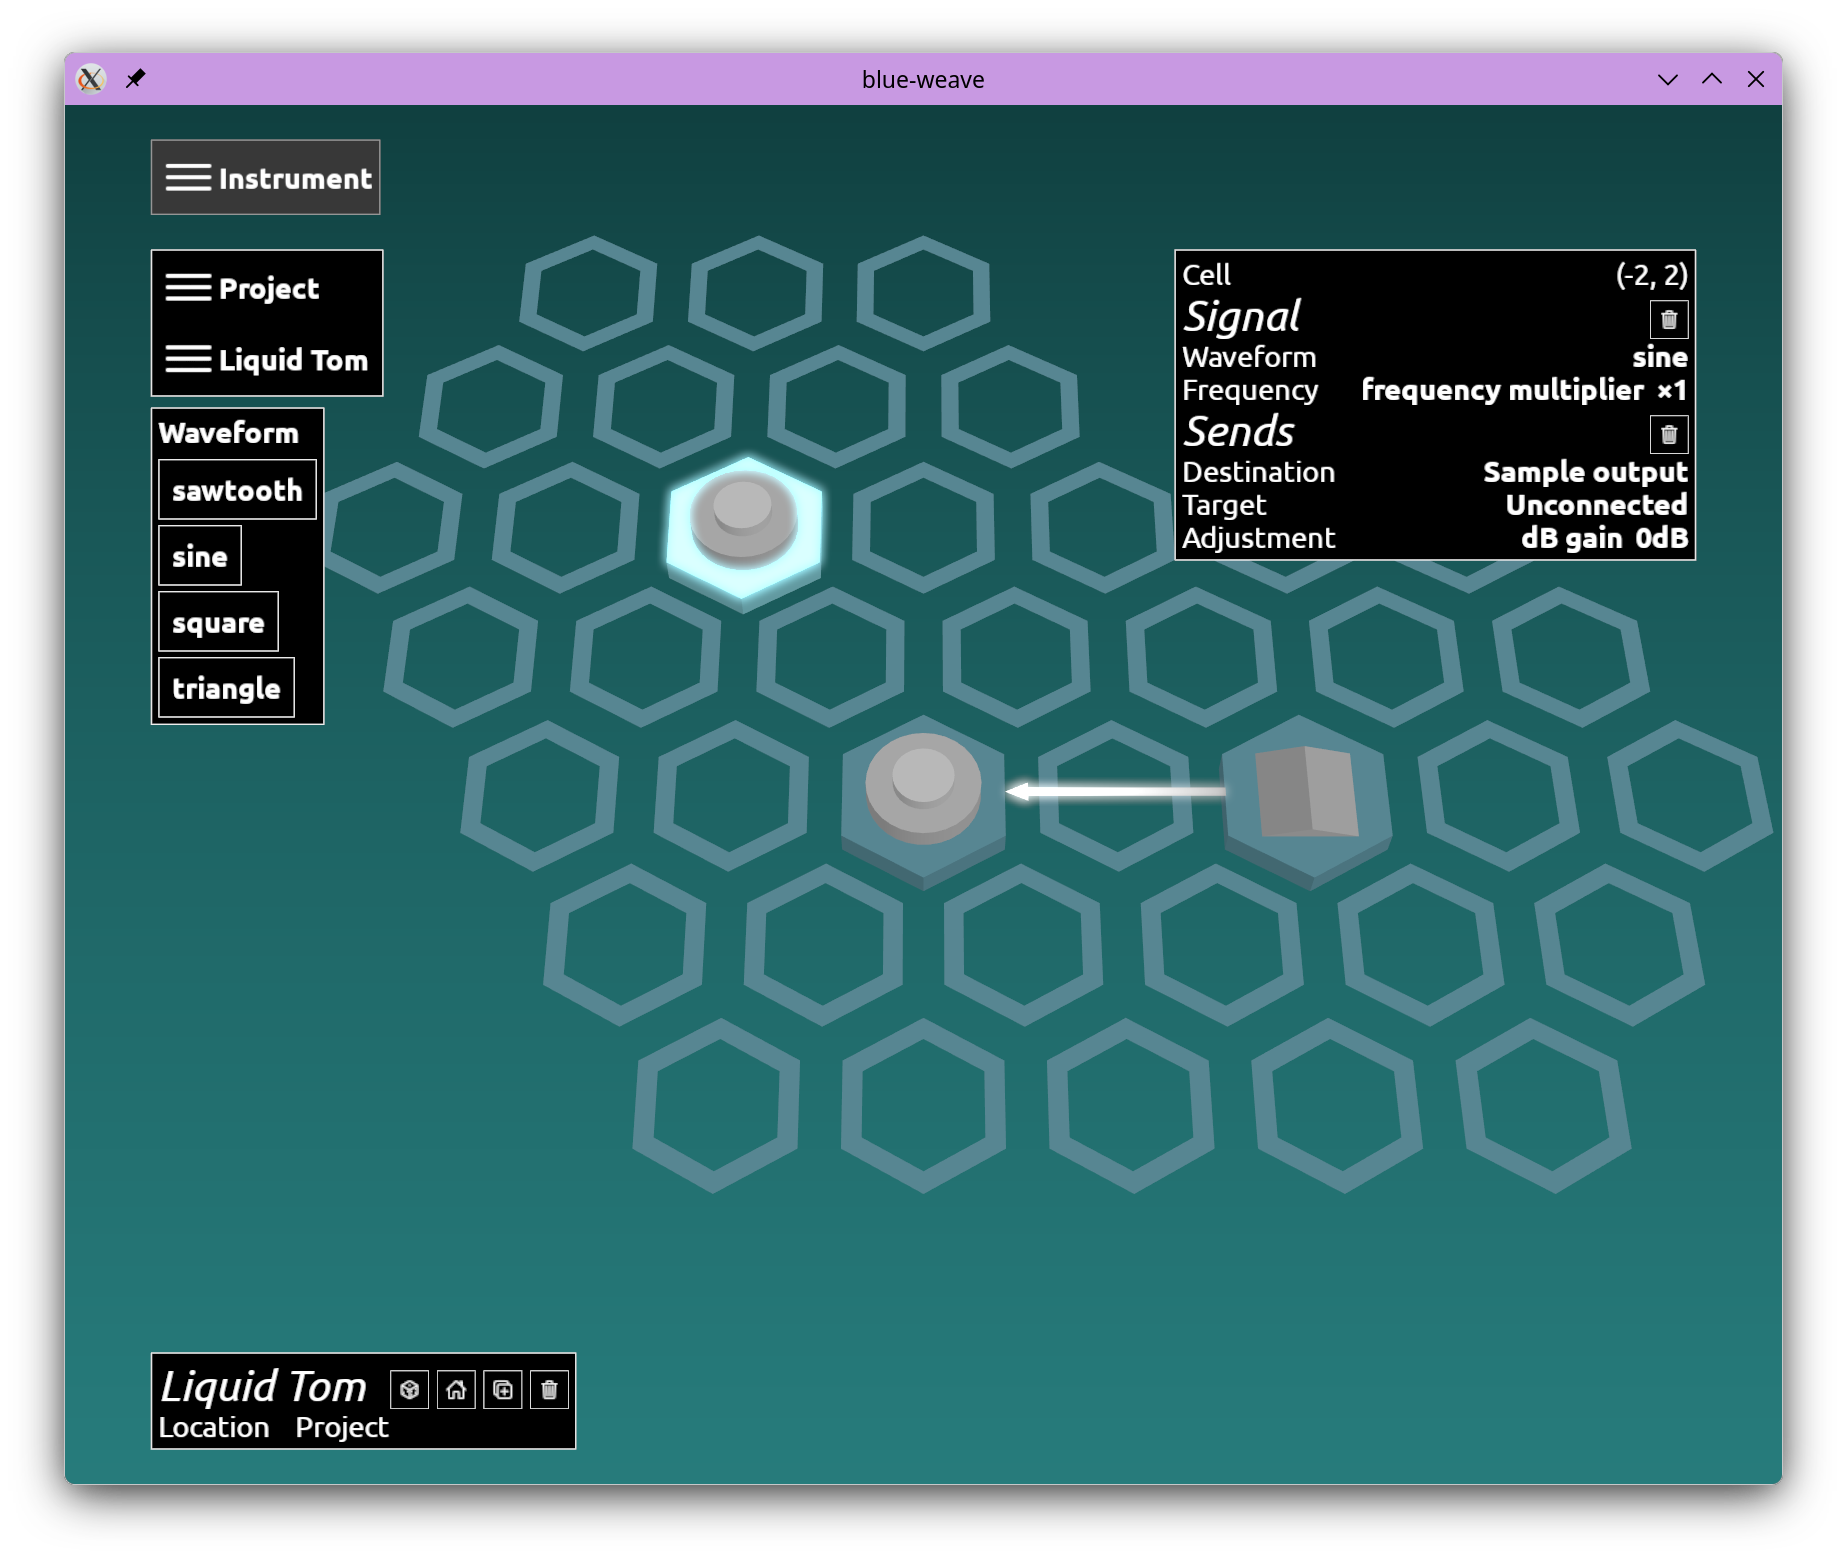
We'll now add a second sine waveform. Place it near the first. When playing this you'll now hear the unshaped sine wave on top of the first because they're both sending their outputs to the sample data.
Step 9
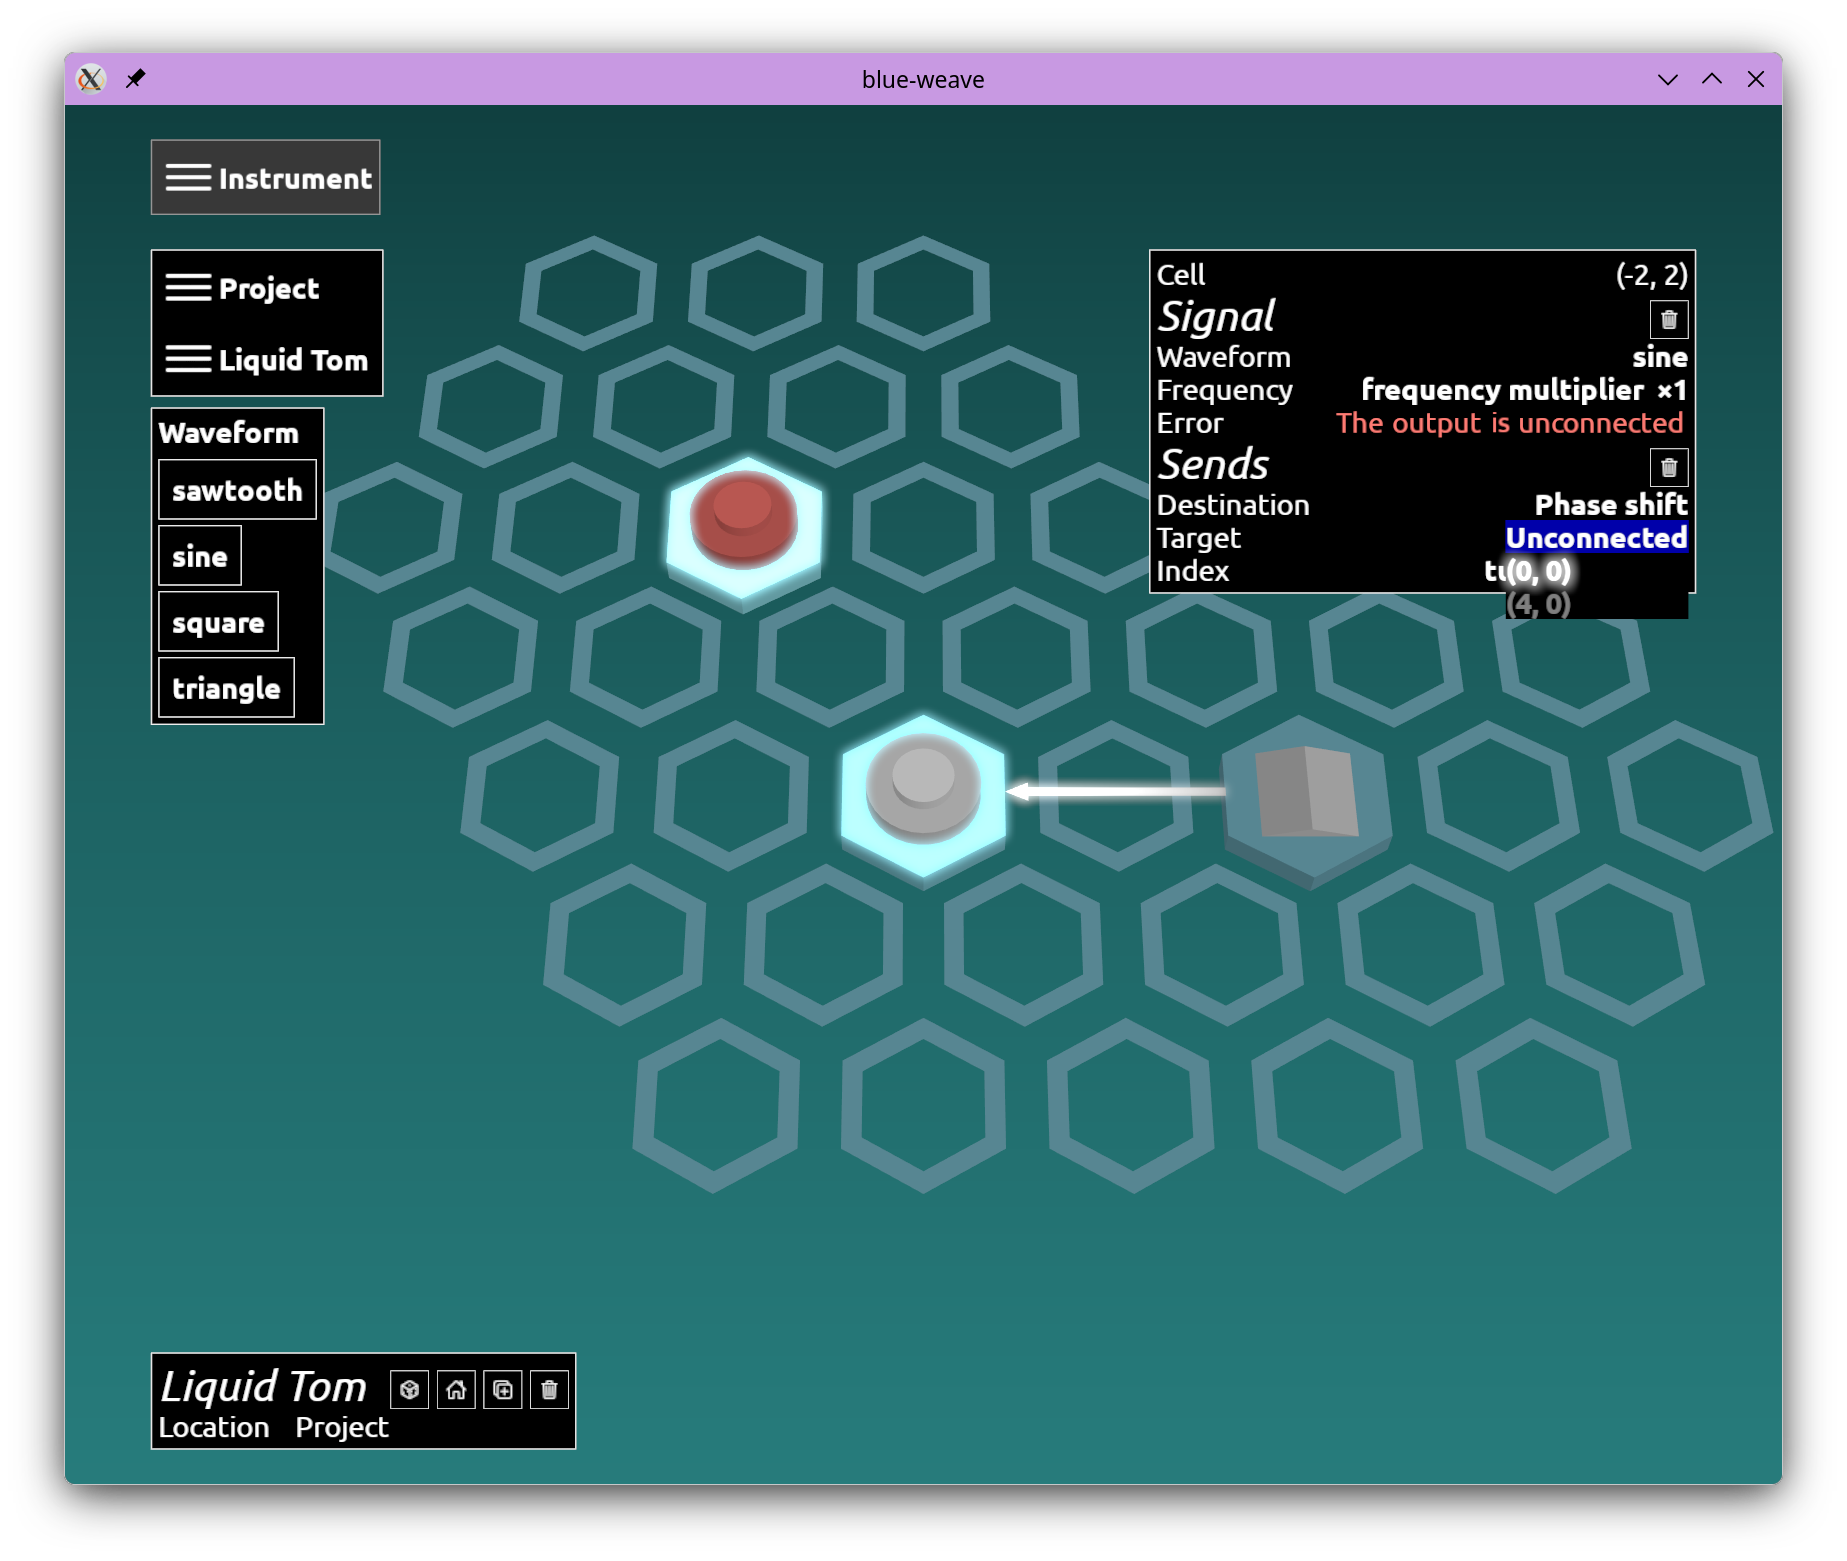
Let's choose "Phase shift" as the destination instead, and then connect it to the first waveform. This is now the most basic FM synth shape, and lends the sound a certain organ like property. If you adjust the strength of the phase shift by adjusting the "Index" you'll notice as you go above 0.5 turns the sound becomes brighter and more metallic, and as you reduce it, it becomes more mellow.
Step 10
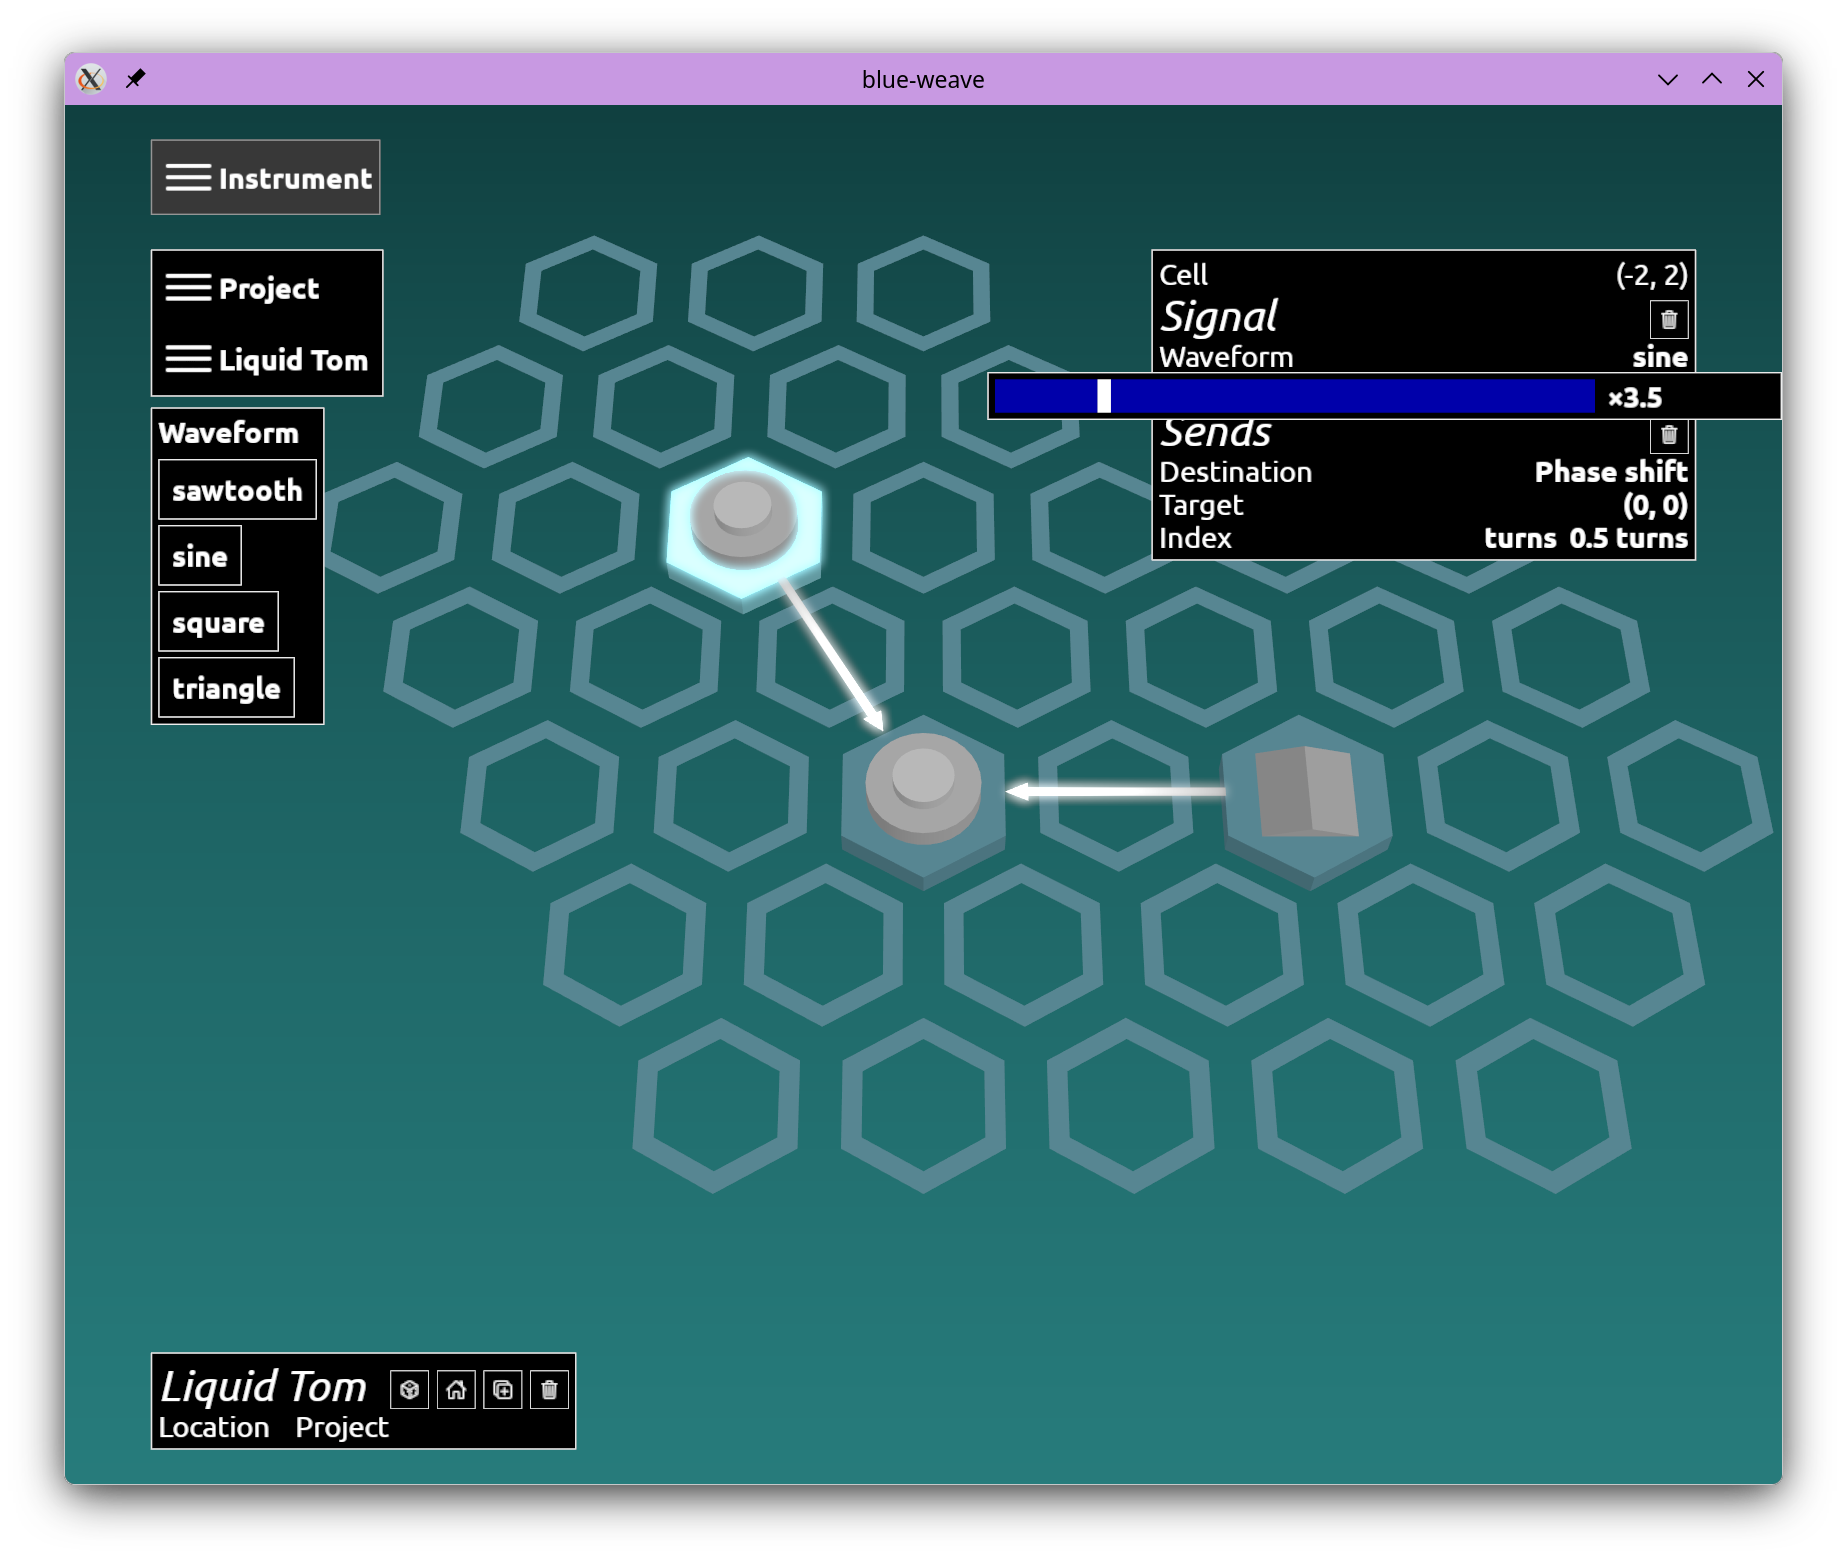
You can also adjust the frequency multiplier to change the timbre of the sound further. Whole numbers will be more consonant than fractions. Drag the slider to hear the effect (you'll have to play the notes again to hear the differences).
Step 11
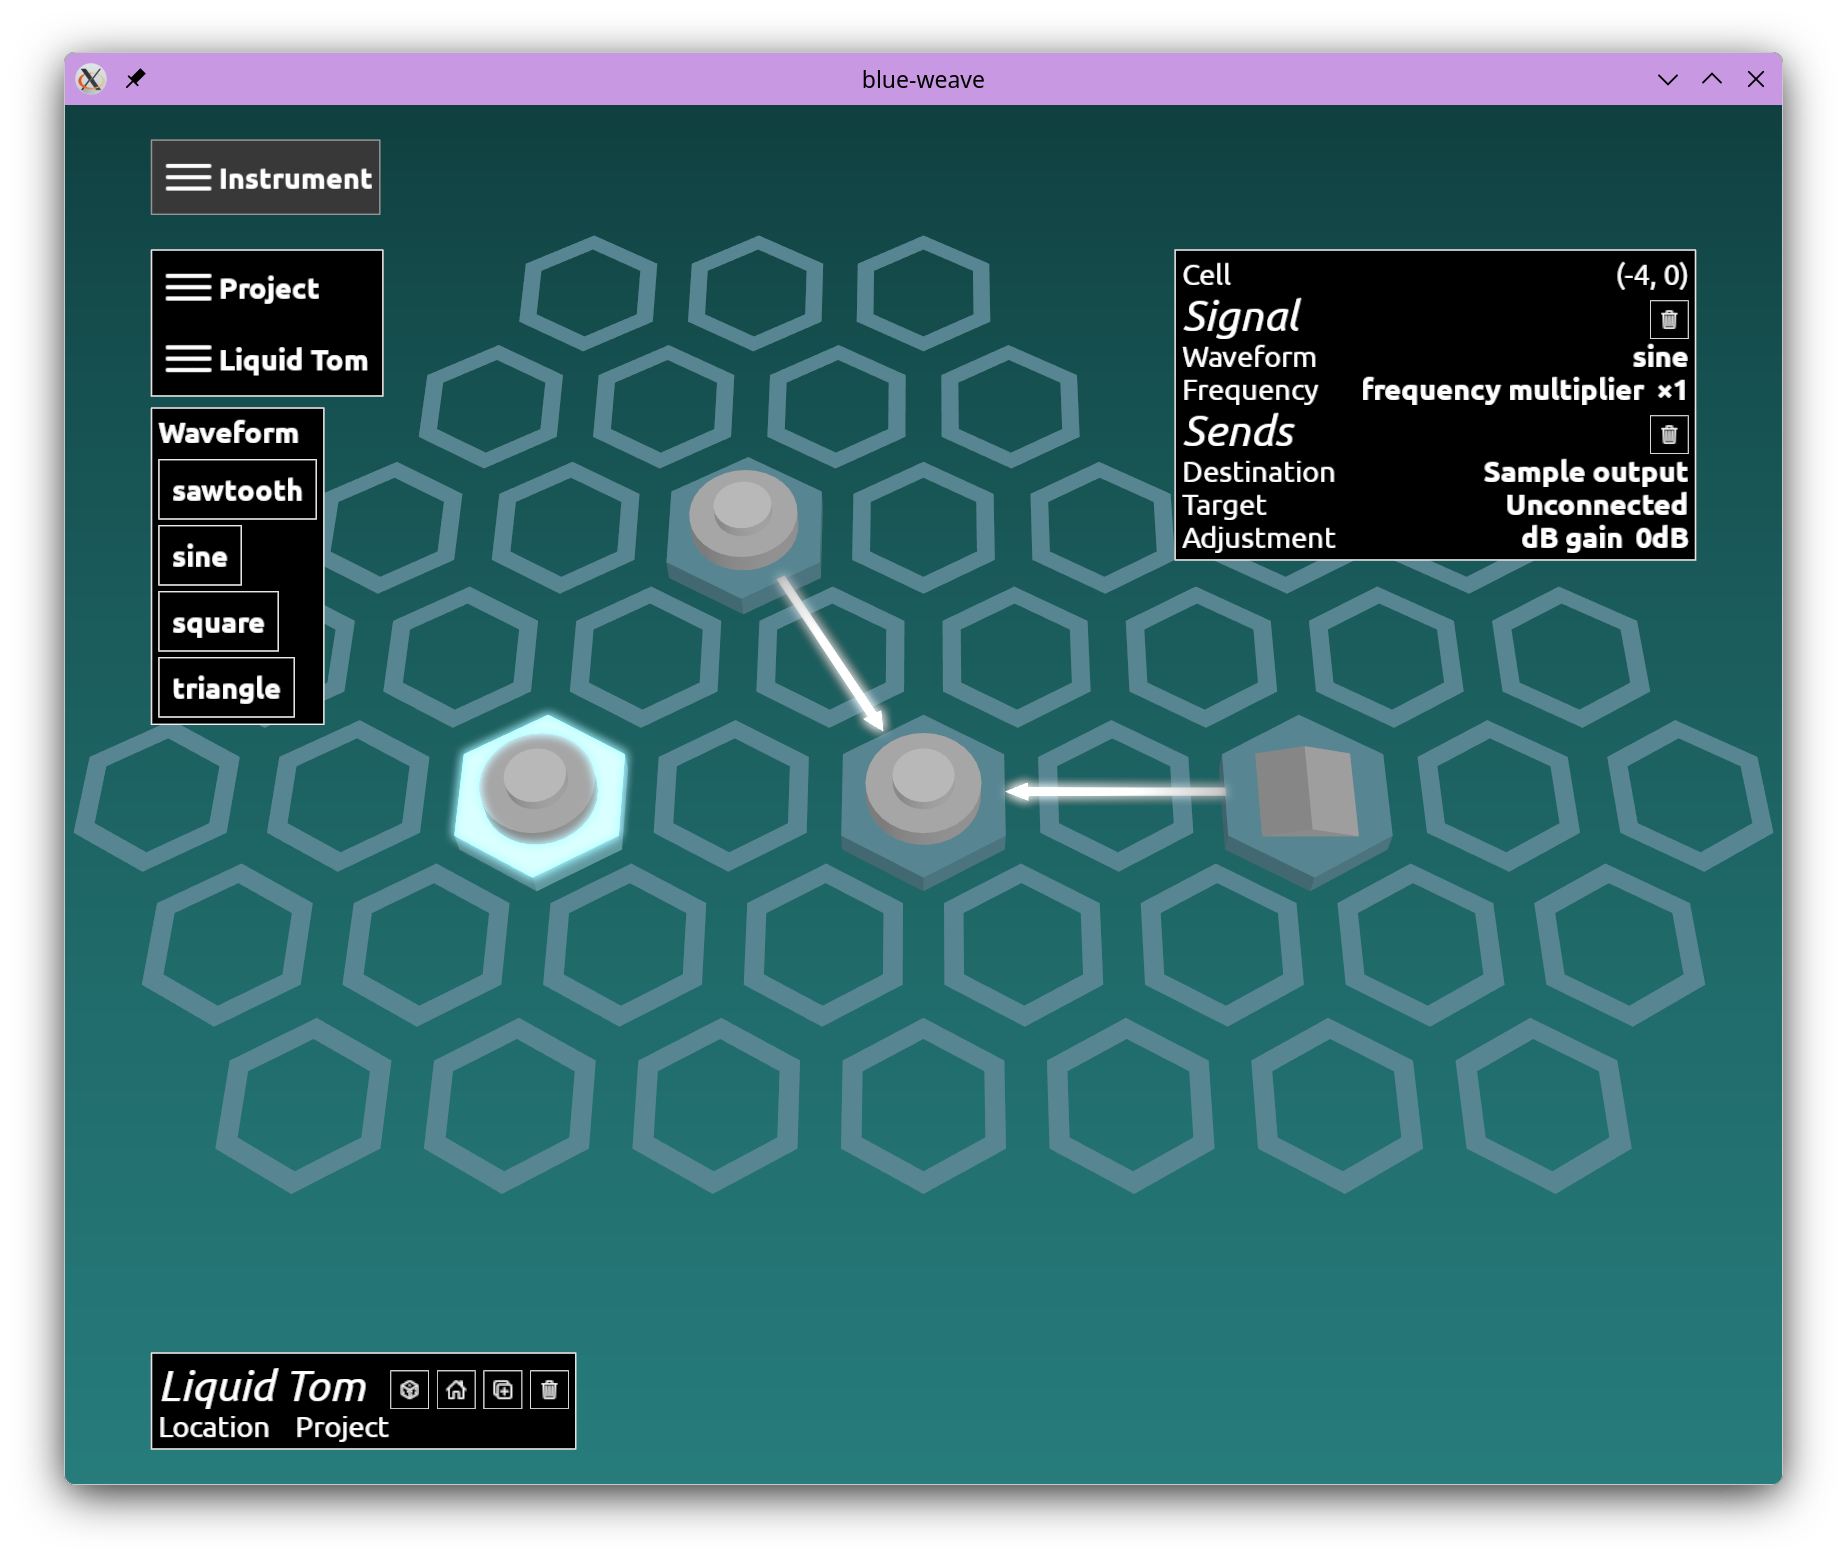
Finally we'll add a bit of vibrato to our sound. Add a third sine waveform.
Step 12
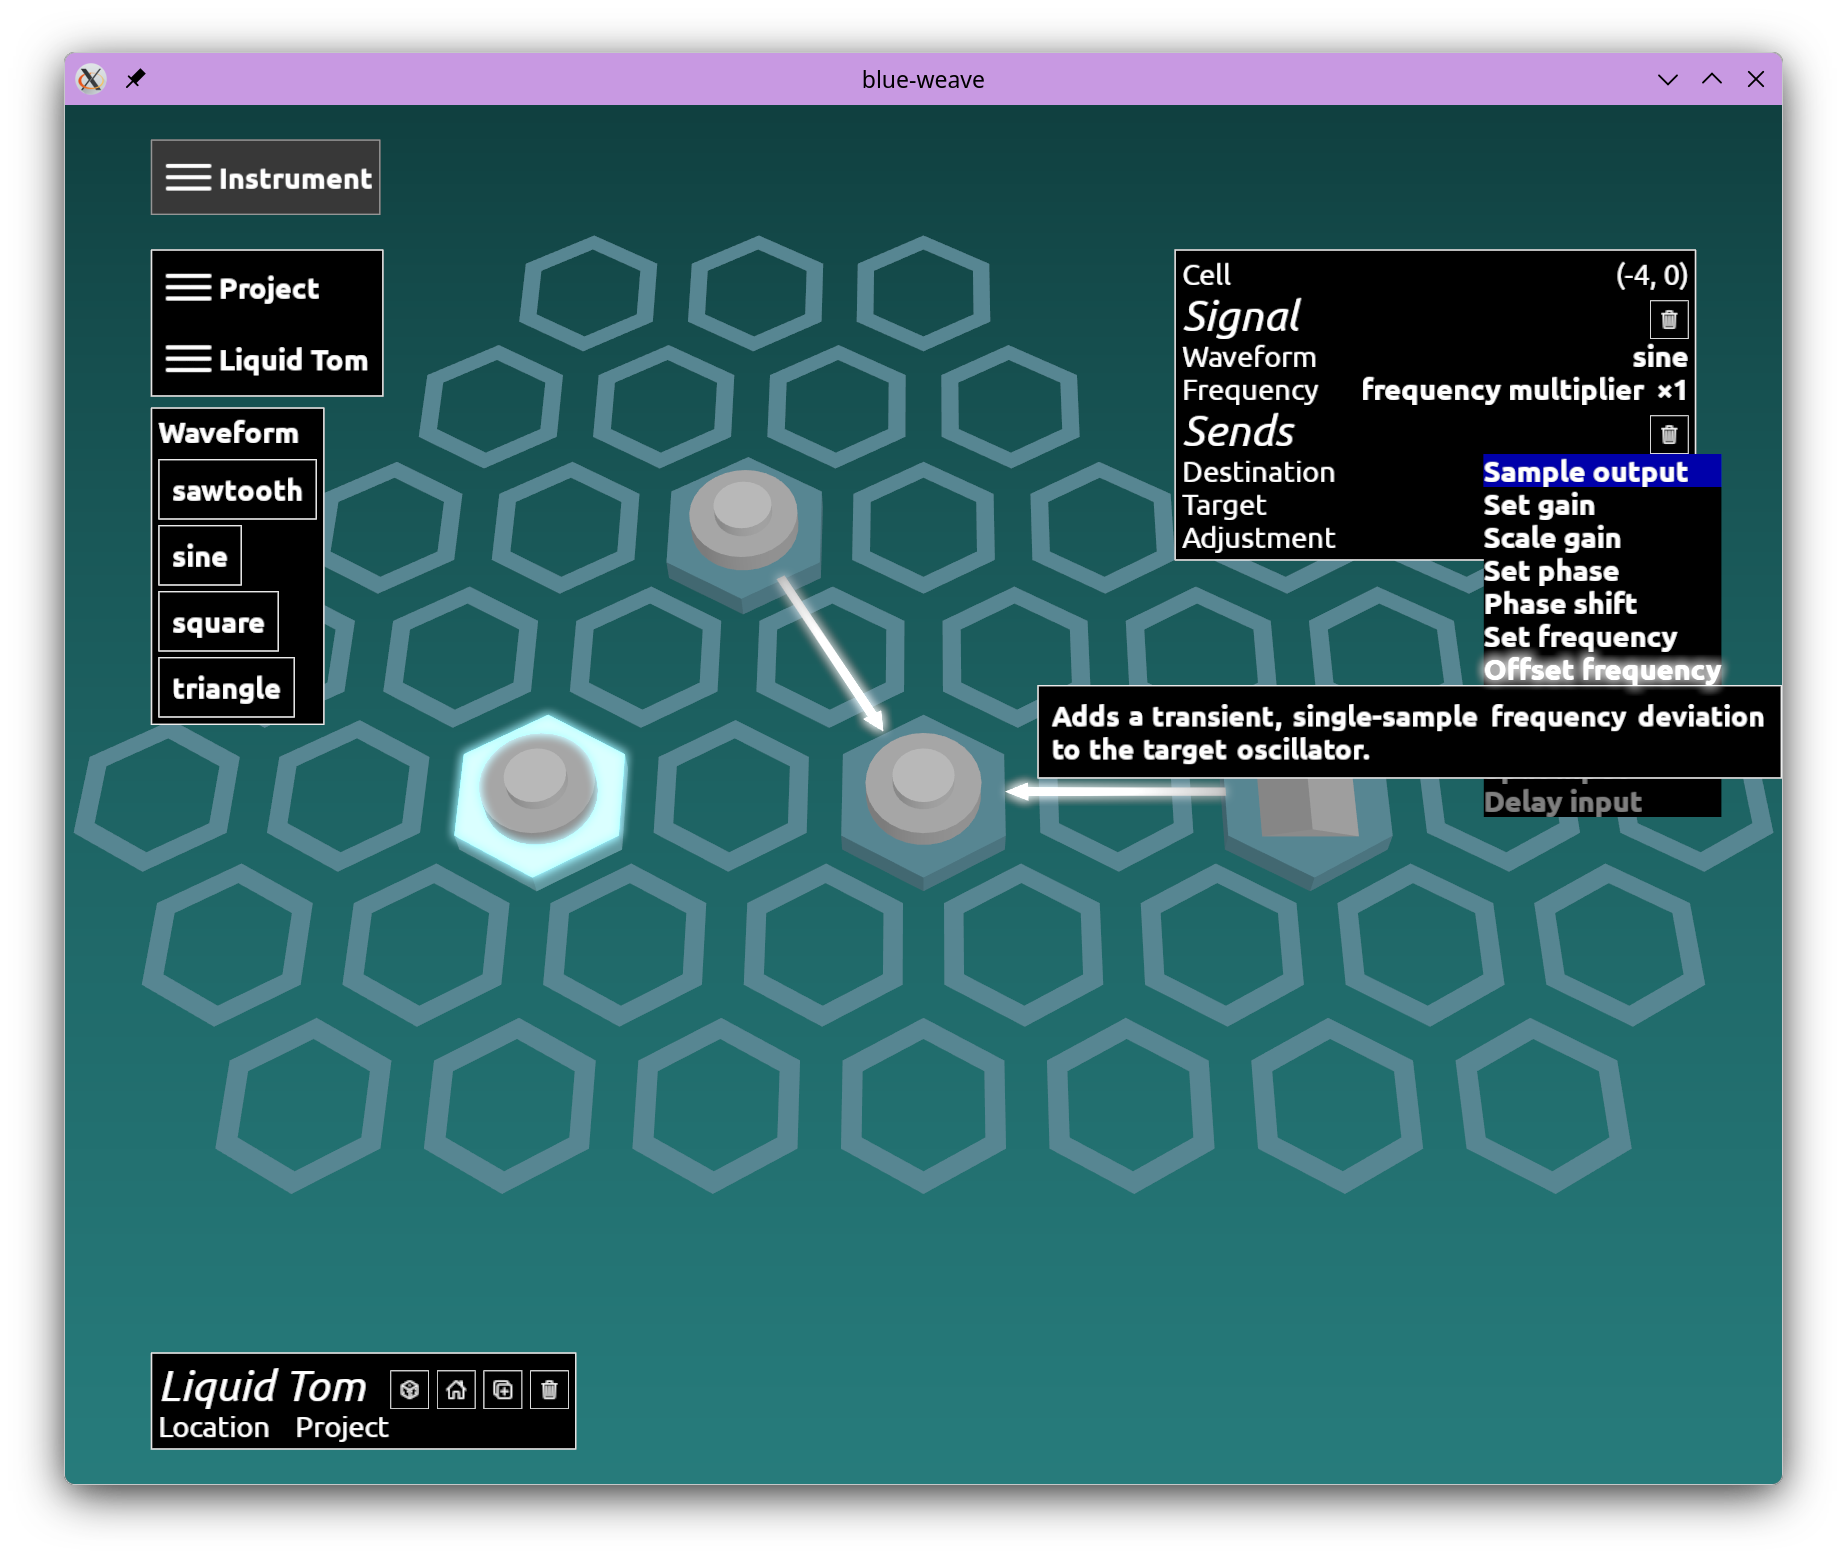
With this one we'll use the "Offset frequency". We'll then connect it to the oscillator that outputs the audio, which will now have two oscillators controlling it.
Step 13
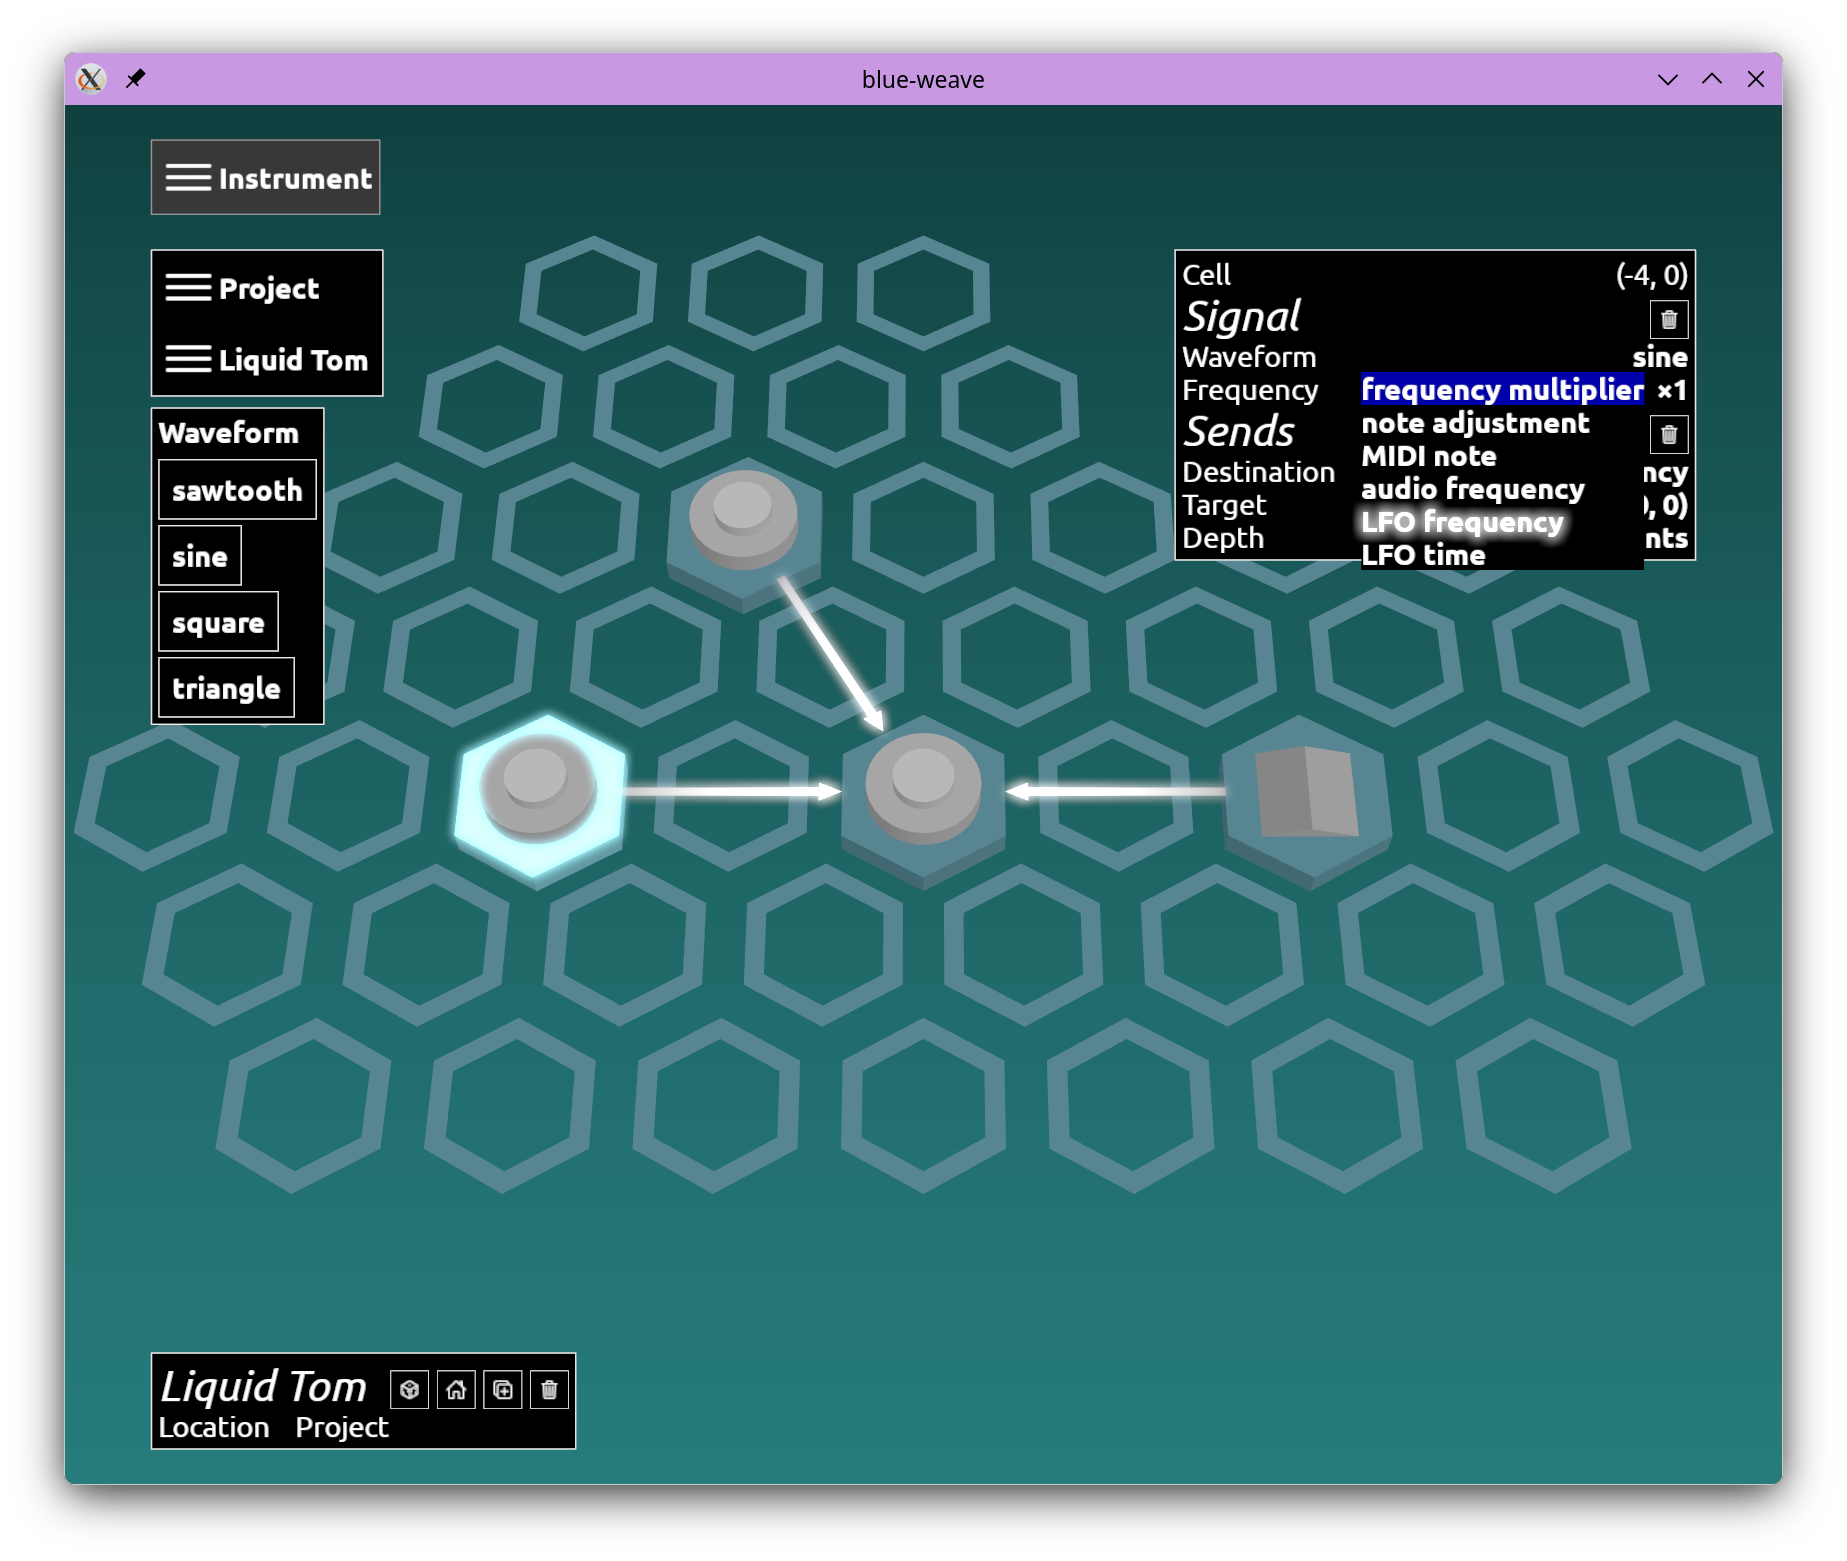
If you try this it'll not sound much different. This is because we're offsetting the frequency too fast. Instead pick the "LFO frequency", which will default to 4Hz. You'll now hear a fairly fast vibrato.
Step 14
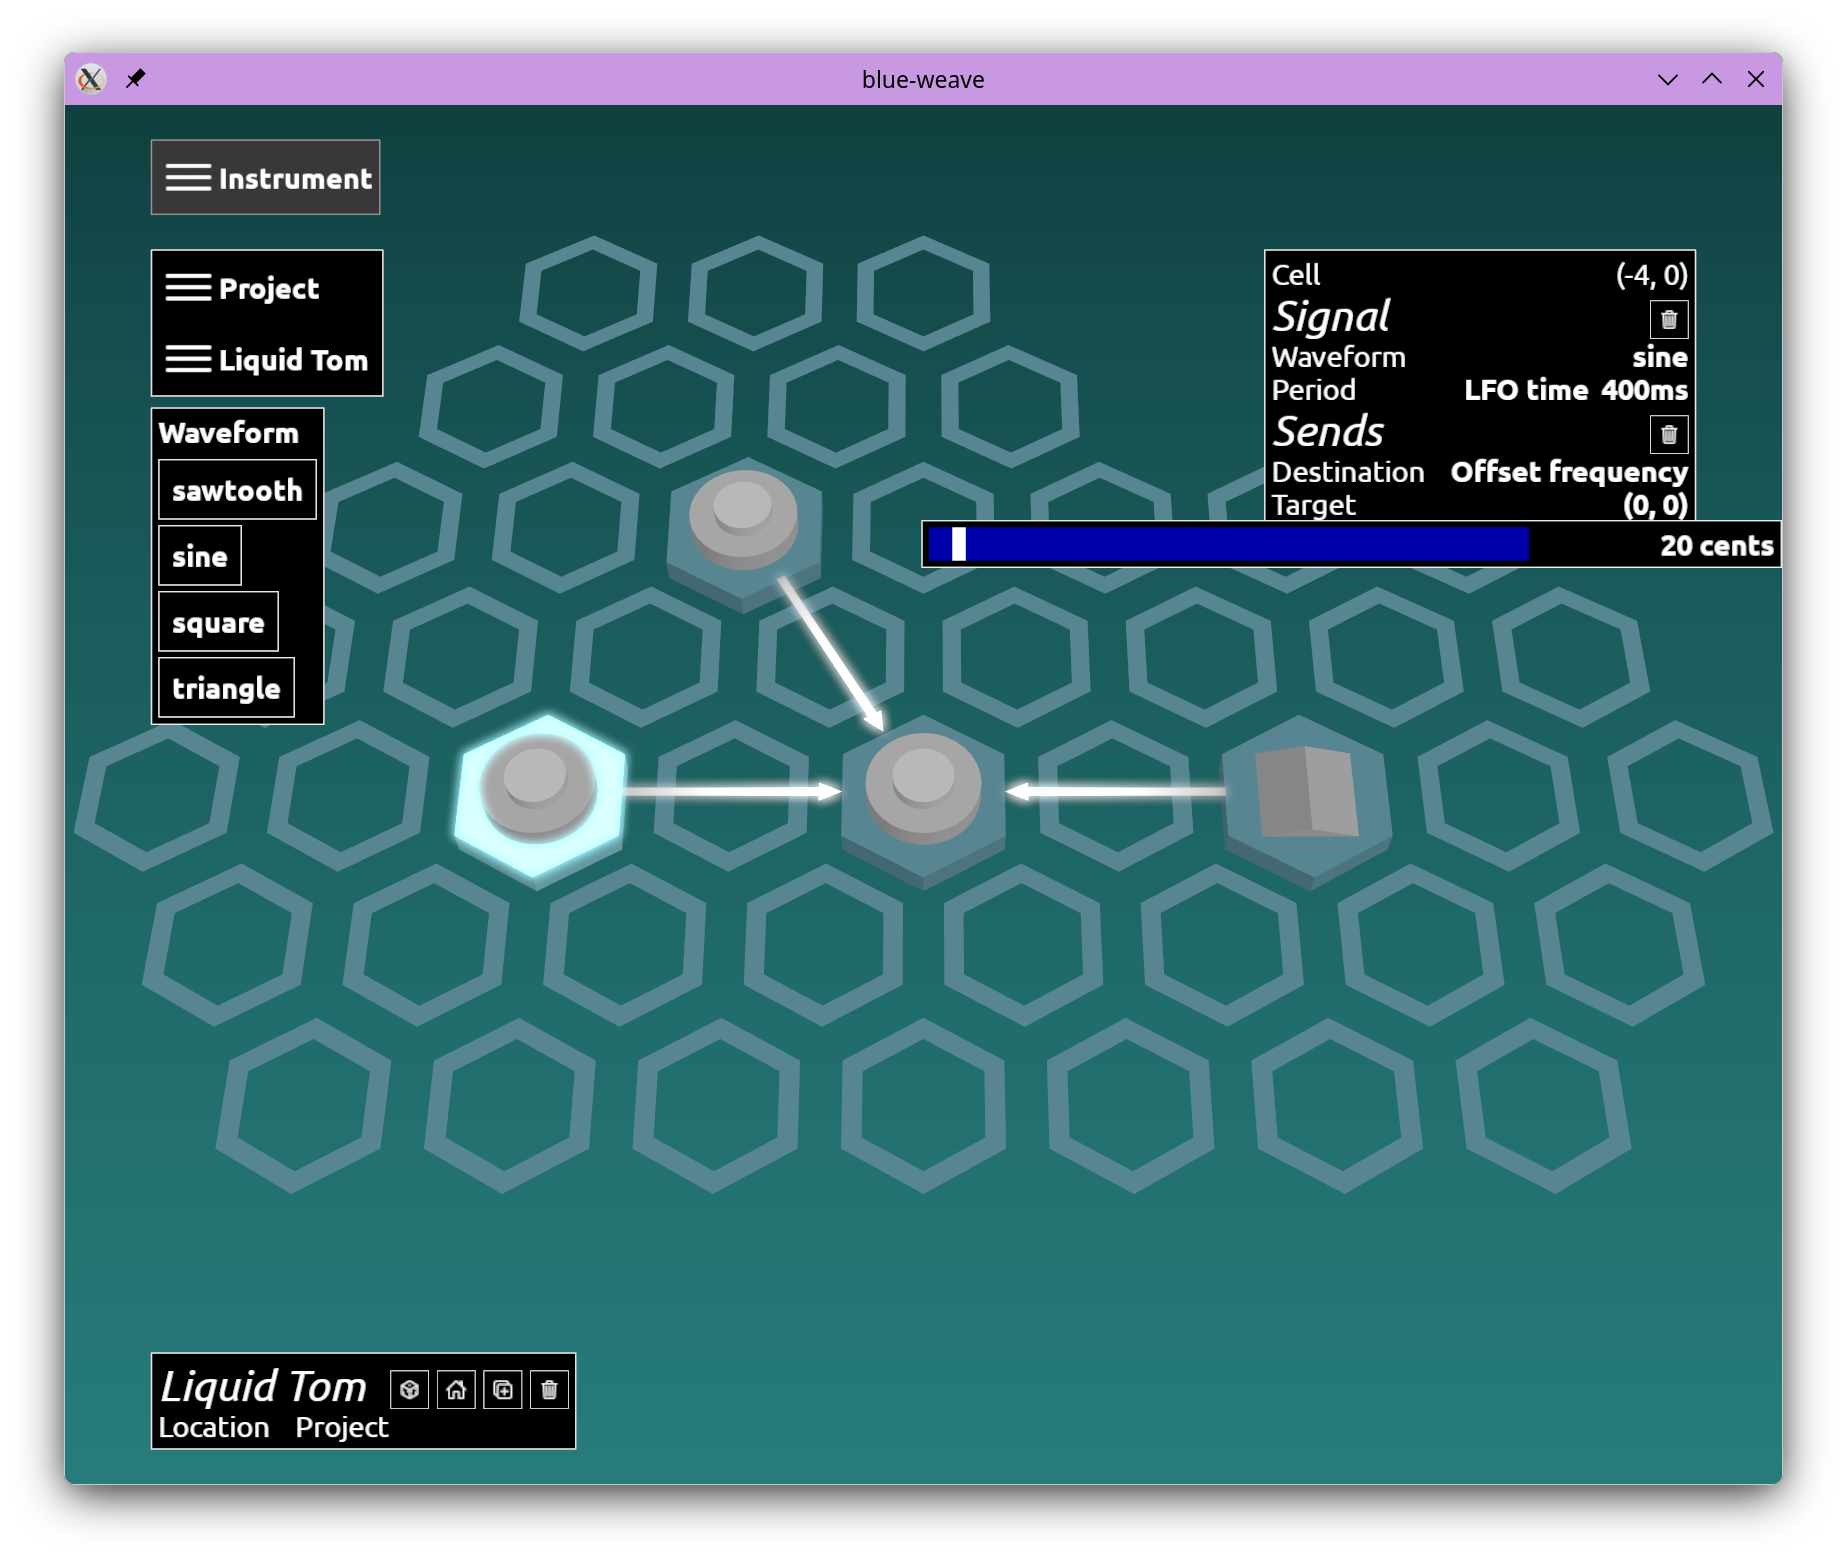
You can slow it down by changing the frequency value down. You can also choose "LFO time" and slow it down by increasing the time.
To make it less deep alter the depth figure. Try somewhere around 20 cents.
Step 15
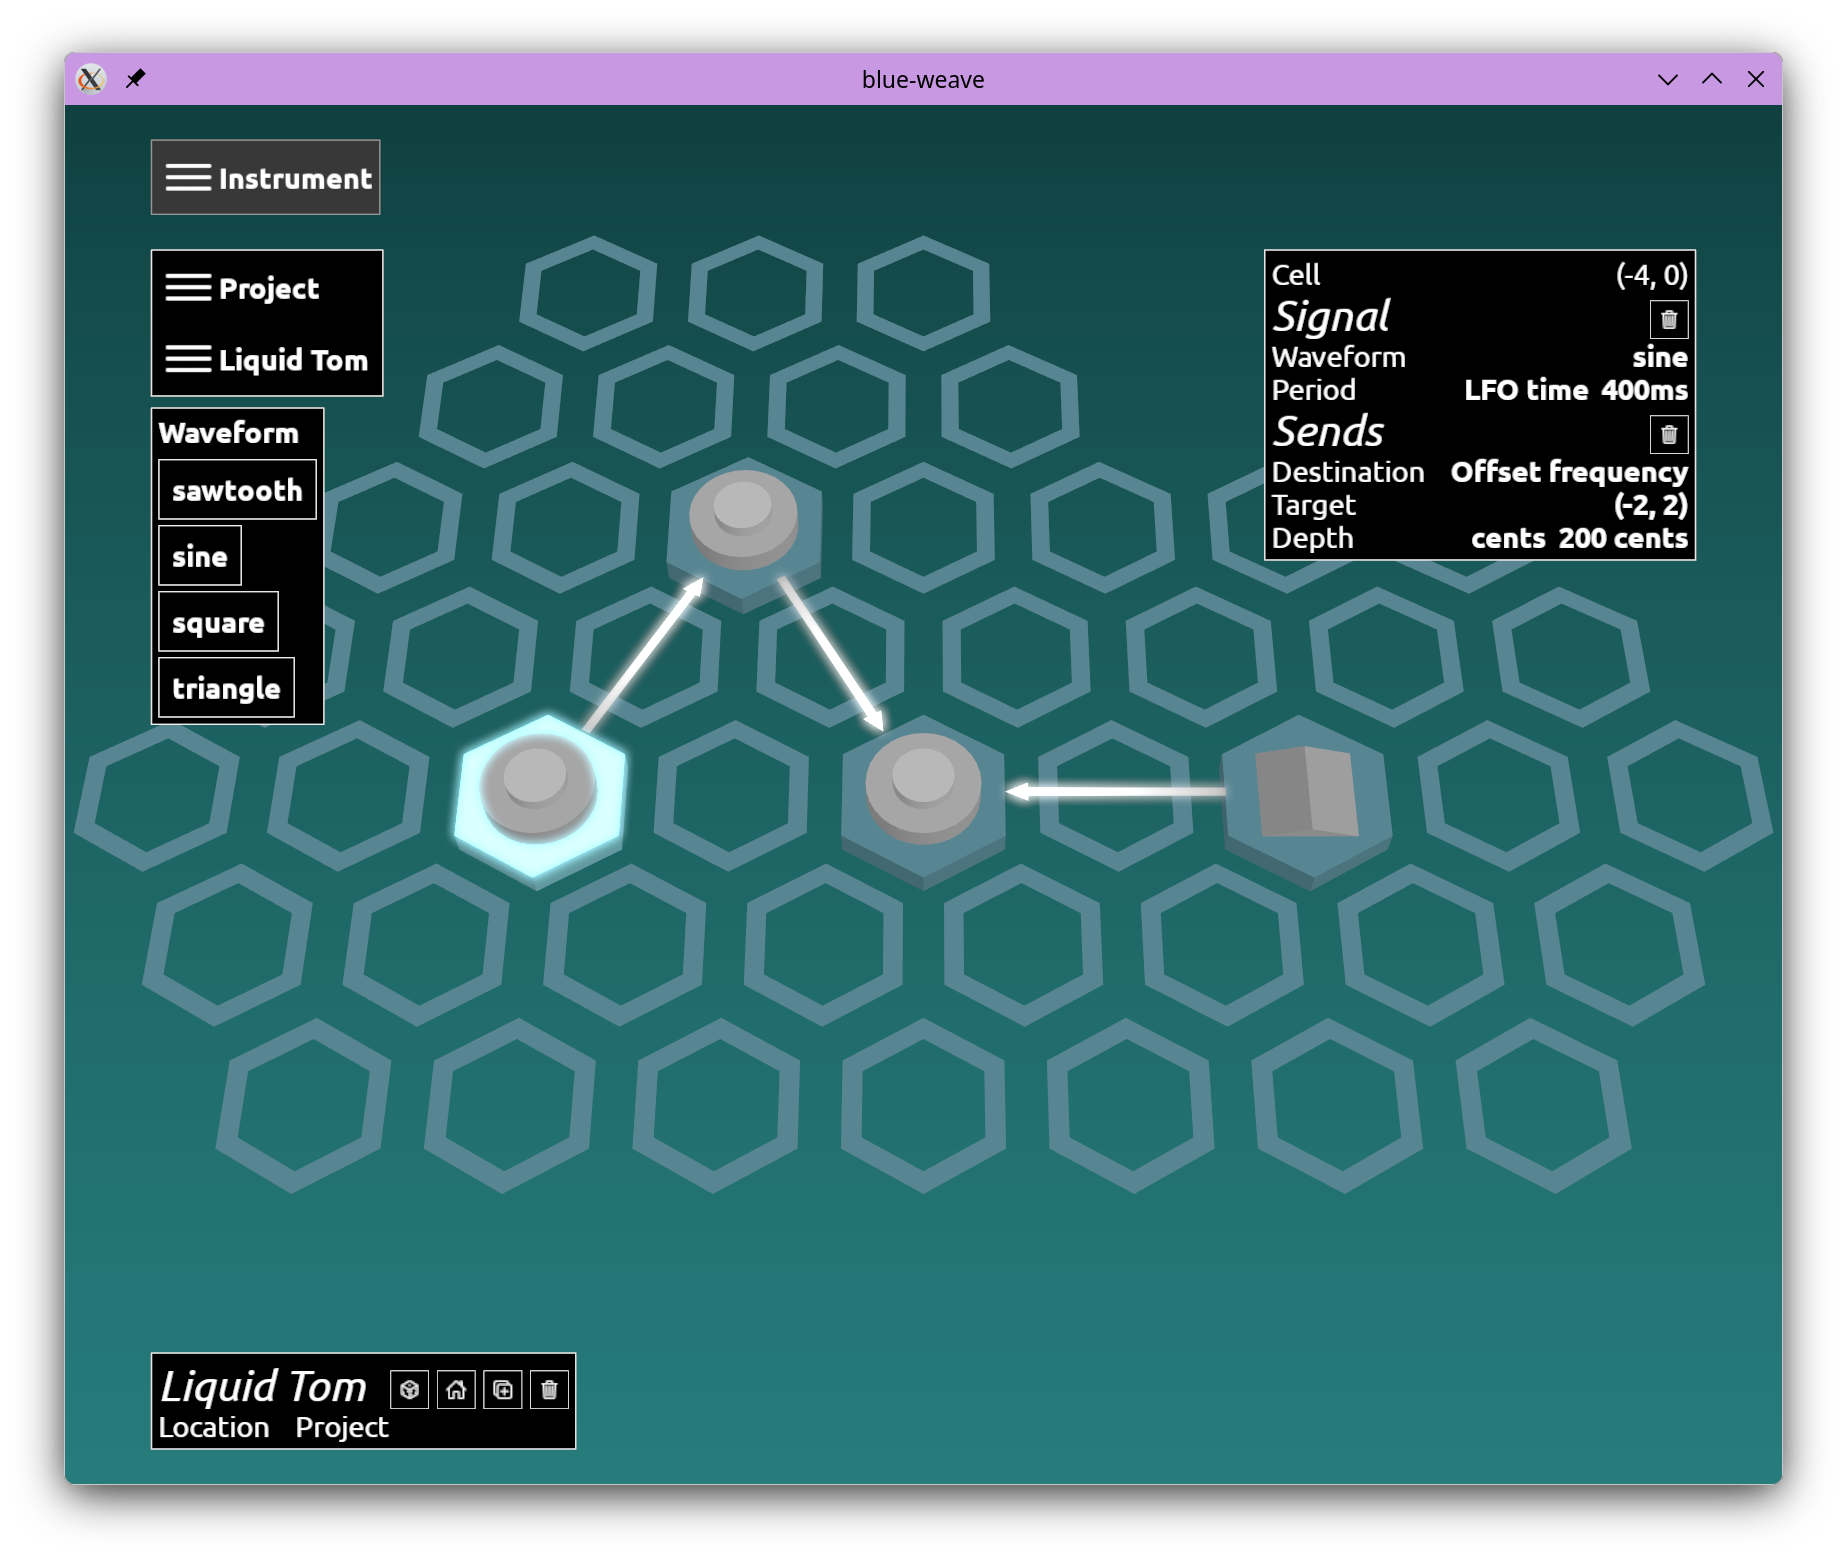
For a much more crazy sound, connect the LFO oscillator to the modulator instead. If you set the depth very high (around 200 cents) you'll hear a sound that changes character much more.